
I remember, clearly, the first time I touched Liberty fabric.
My Mum and I were sitting at her big farmhouse table in her kitchen in Suffolk, planning the quilts we were going to make that summer together. I had brought some cotton prints over in my suitcase for us to use, and Mum disappeared upstairs and came down with a little cardboard box, in which a dozen or so carefully-folded Liberty fabrics sat. "Do you think these would go, too?" she asked, setting them between us, and I remember that exact feeling of holding a square of the light and shimmery material with amazement and disbelief that anyone would allow me to use such beautiful fabrics.
Allowing myself to actually sew with my favourite fabrics -- such an important part of letting the joy in the creative process shine through -- began that summer, with the little cardboard box of Liberty fabric that my Mum shared with me. And, I've never looked back. I no longer hold back a pile of fabric on my shelf for later, for one day, for some future time when I'm finally "good enough". Right now, wonky seams and all, is good enough.

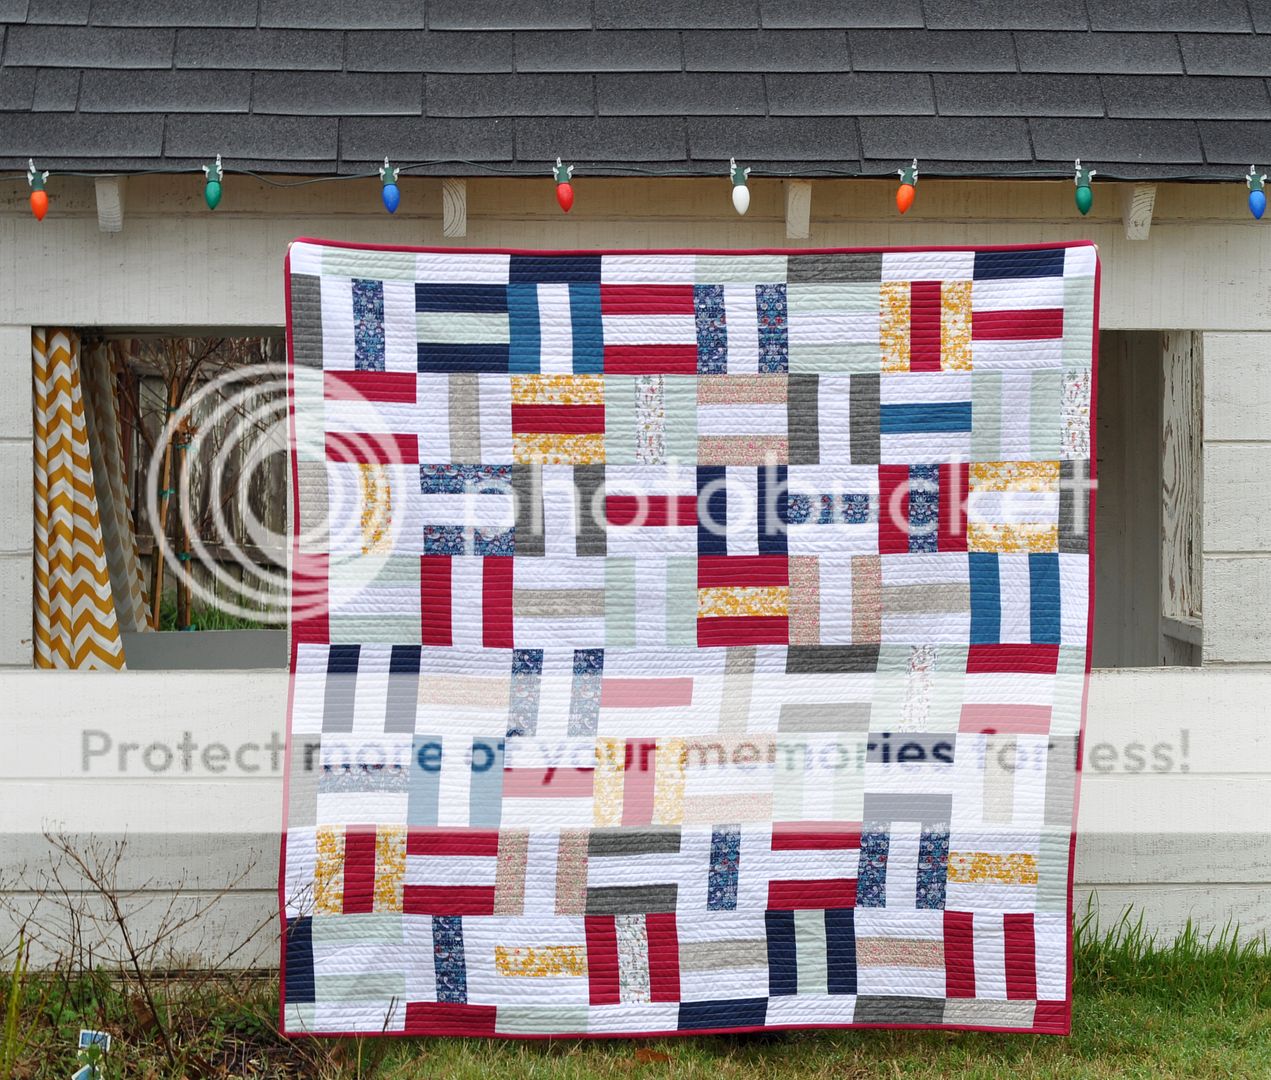
And what a pleasure it is to sew with beautiful, high-quality materials. This quilt, which I've named "Tea and Scones" in honour of the jam or cream-filled blocks, uses a selection of my favourite Liberty Lawn fabrics, in a pattern which is designed to use every last inch of a fat eighth cut. And I find that putting these prints together with solid fabrics is a lovely way not only to bring out the best in the Liberty prints, but also to put your own voice and style into the quilt with the hues and shades of the solids you choose.
So, throughout this pattern, while I have given the details and quantities of the fabrics I used, please feel free (or encouraged, even) to substitute in colours that speak to you.
Ok, so grab your finest Liberty prints from the special place they are hoarded away, and let's get started!

Tea and Scones: Quilt Tutorial
Fabric Requirements:
5 fat-eighths of Liberty Lawn
1 yard white solid (Kona White)
1/2 yard pink solid (Kona Sangria)
1/4 yard grey solid (Essex Dyed Linen grey)
1/4 yard pale blue solid (Essex Dyed Linen blue)
1/4 yard turquoise solid (Essex Dyed Linen turquoise)
1/4 yard dark blue solid

Instructions:
1. Cut your Liberty fabrics first. This pattern has been designed to use every single inch of a fat eighth cut of fabric, and so it is important how you make the cuts. First, lay the fat eighth strip out -- it will measure approximately 27" x 9 1/2". Measure 6 1/2" down from the top edge of the strip, and cut along the length of the fabric, so you have a strip that is 27" x 6 1/2". With the leftover, smaller strip, trim it to be 2 1/2" wide, so it measures 27" x 2 1/2".
Take the 6 1/2" wide strip of Liberty fabric, and cut it into 2 1/2" widths, all the way along -- this will give you ten strips.
Now take the 2 1/2" wide strip of Liberty, and cut 6 1/2" widths all the way down. These pieces will be the same size as those you have just cut (2 1/2" x 6 1/2"), but will have the pattern facing the opposite direction (horizontally as opposed to vertically) -- this will give you a further four strips, for a total of fourteen strips from each fat eighth of Liberty.
You should end up with 70 strips of Liberty fabric, each 2 1/2" x 6 1/2".
Note: In this quilt, I have used only 50 of the strips of Liberty fabric, and have given the exact quantities of each solid fabric used below. However, there is no need to use these quantities exactly -- this quilt pattern will work whatever ratio of prints to solids you choose to use.

2. Now cut your solid fabrics. You will need a total of 174 solid strips.
In this quilt, I used:
30 strips of Kona Sangria
84 strips of Kona White
14 strips of grey Essex Dyed Linen
25 strips of light blue Essex Dyed Linen
7 strips of turquoise Essex Dyed Linen
14 strips of navy solid
Note: You will use 192 of these strips (Liberty + solids) to construct your blocks, and the leftover 32 will be used later to create a border.
You will also need to cut four squares 2 1/2" x 2 1/2" for the border corners, in any colour you like.
3. Now, begin to lay out your "scones" -- a pair of the same fabrics on either side of a contrasting fabric. The Liberty prints can go in the middle or on the outer edges of the block -- I found that making both styles of block created the look I wanted.
Let yourself be guided by colours you love together. Pick shades of solid fabric that enhance the colours in the Liberty prints you have chosen.
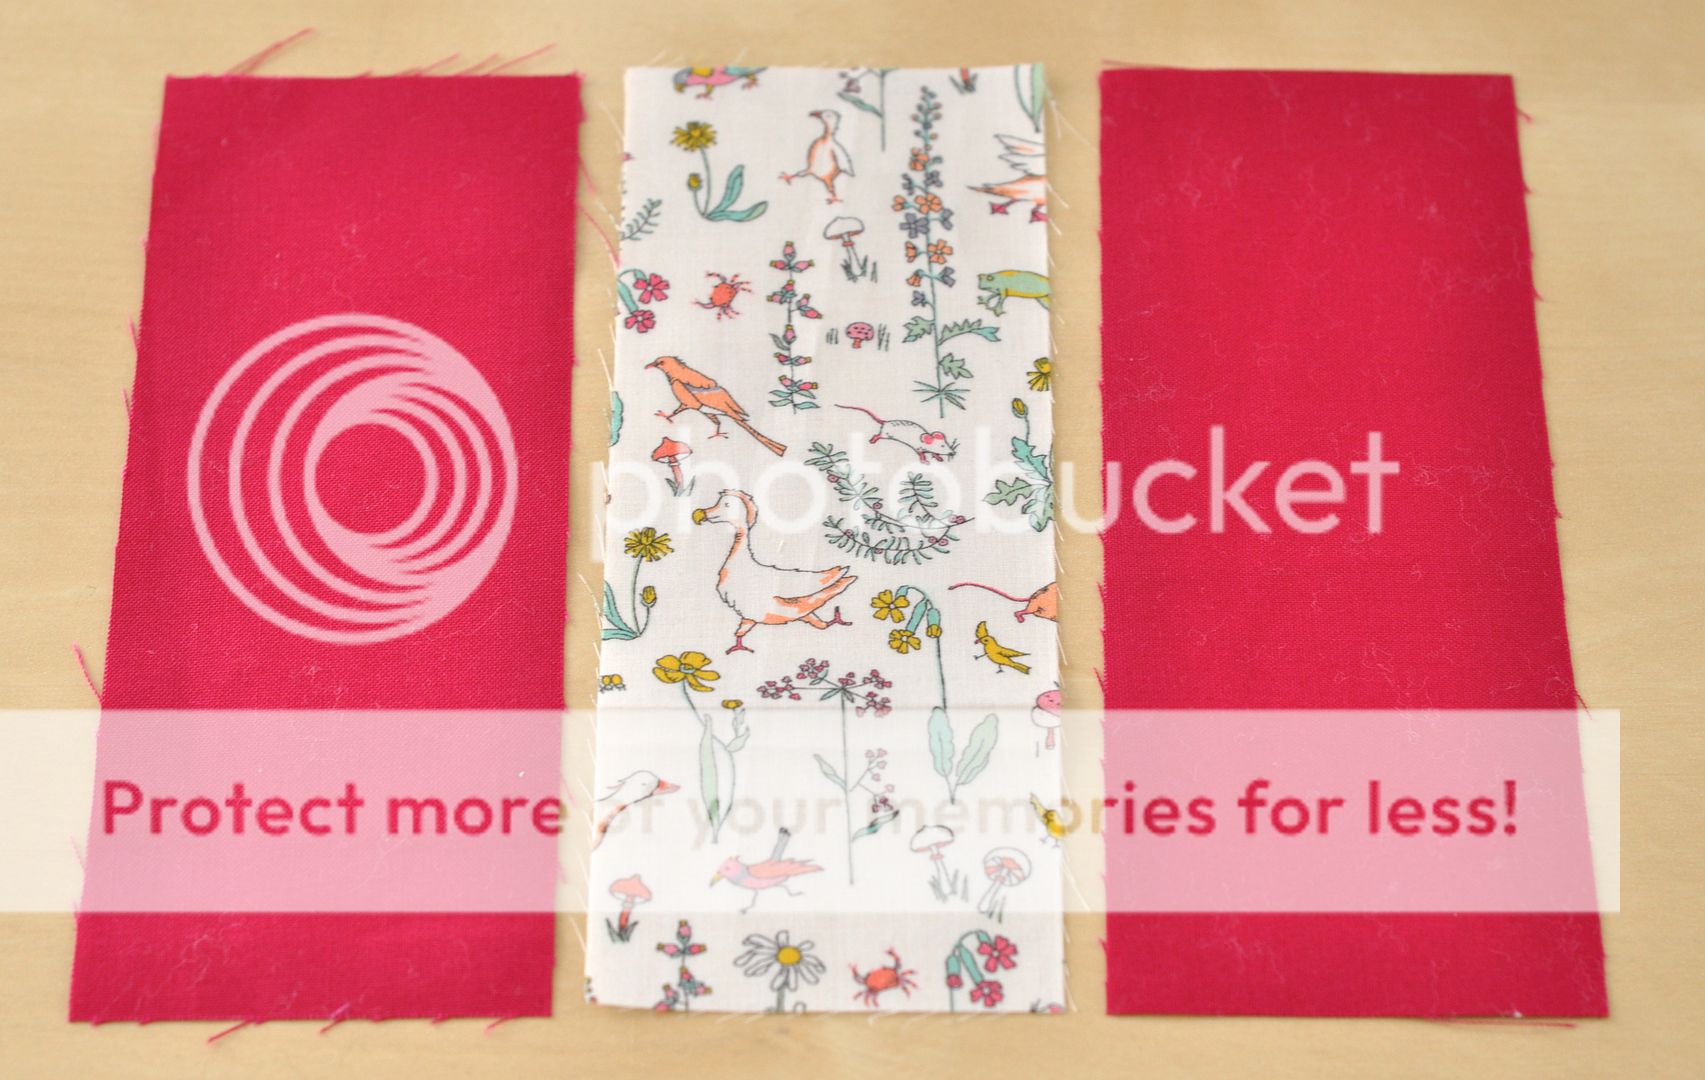
4. Assemble your "scones" by sewing the middle strip to one of the edge strips, (using 1/4" seam allowance), and then attaching the second edge strip to the other side of the middle strip. Iron all seams flat.
You will need to assemble 64 blocks to make this 51" x 51" quilt.
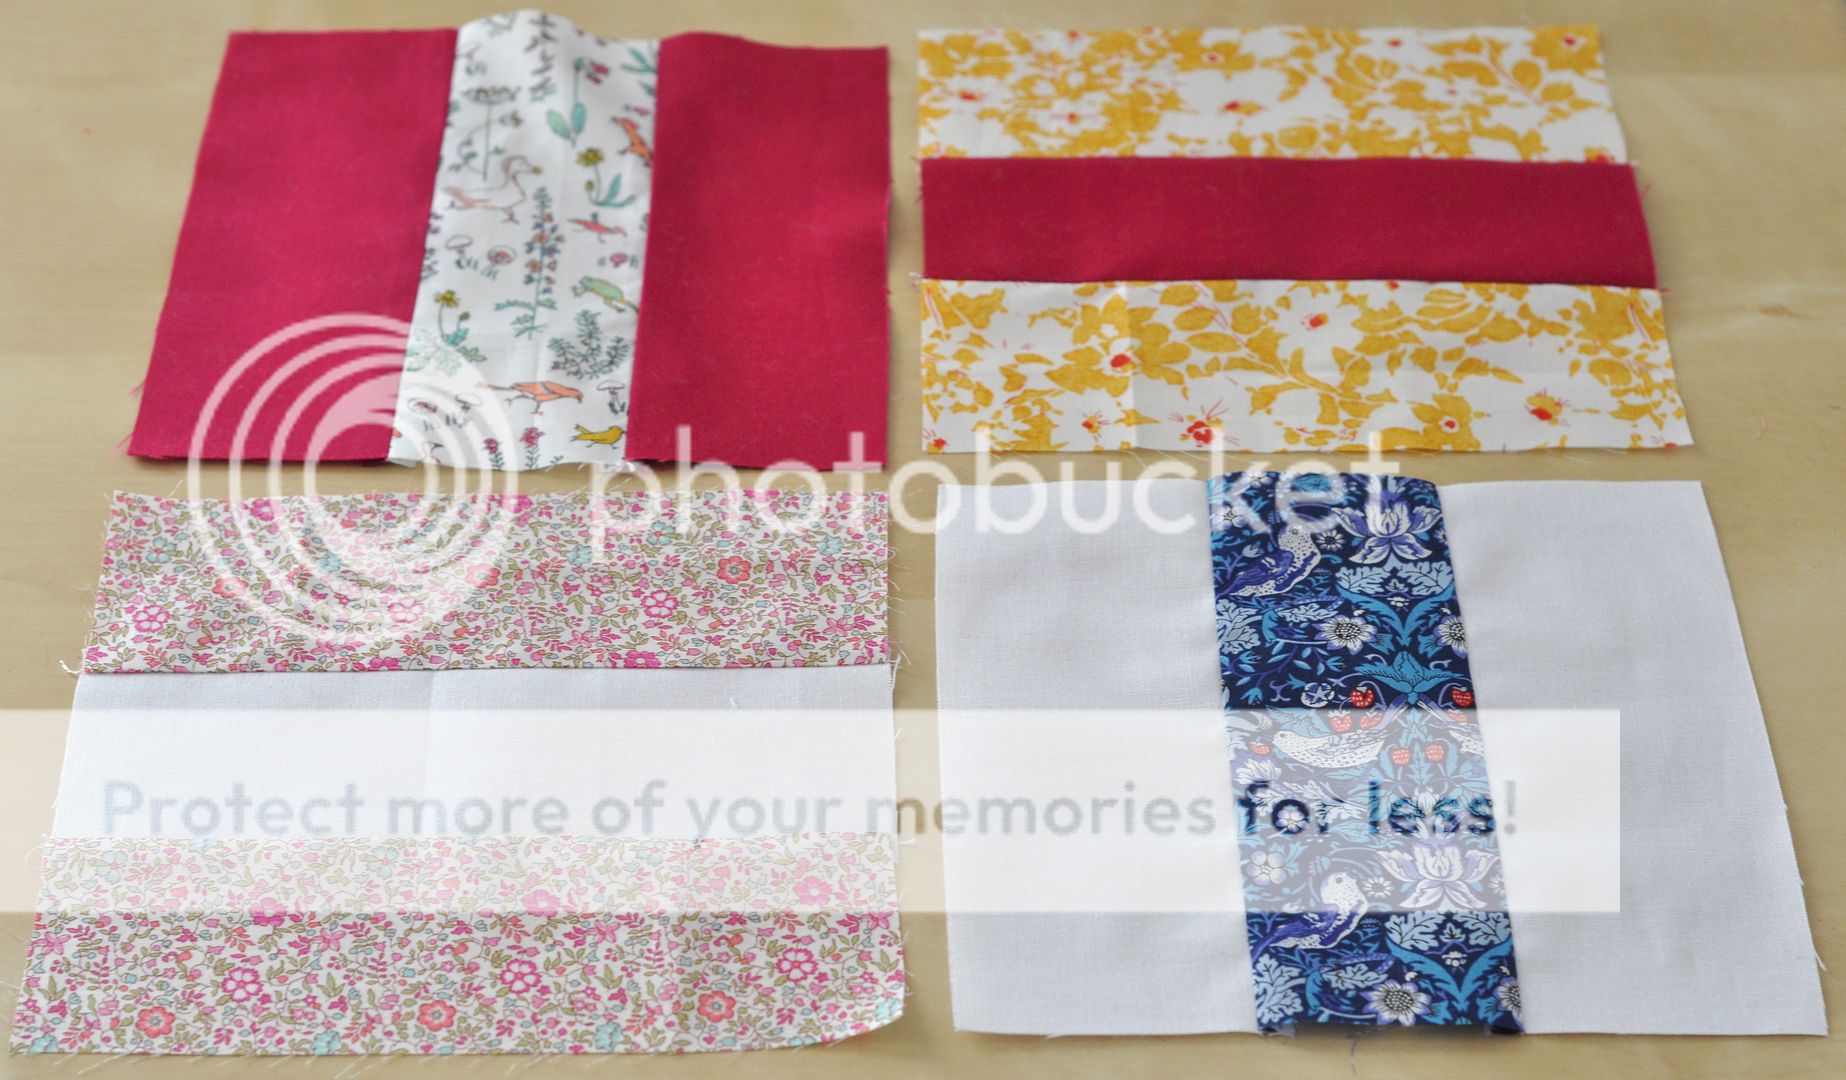
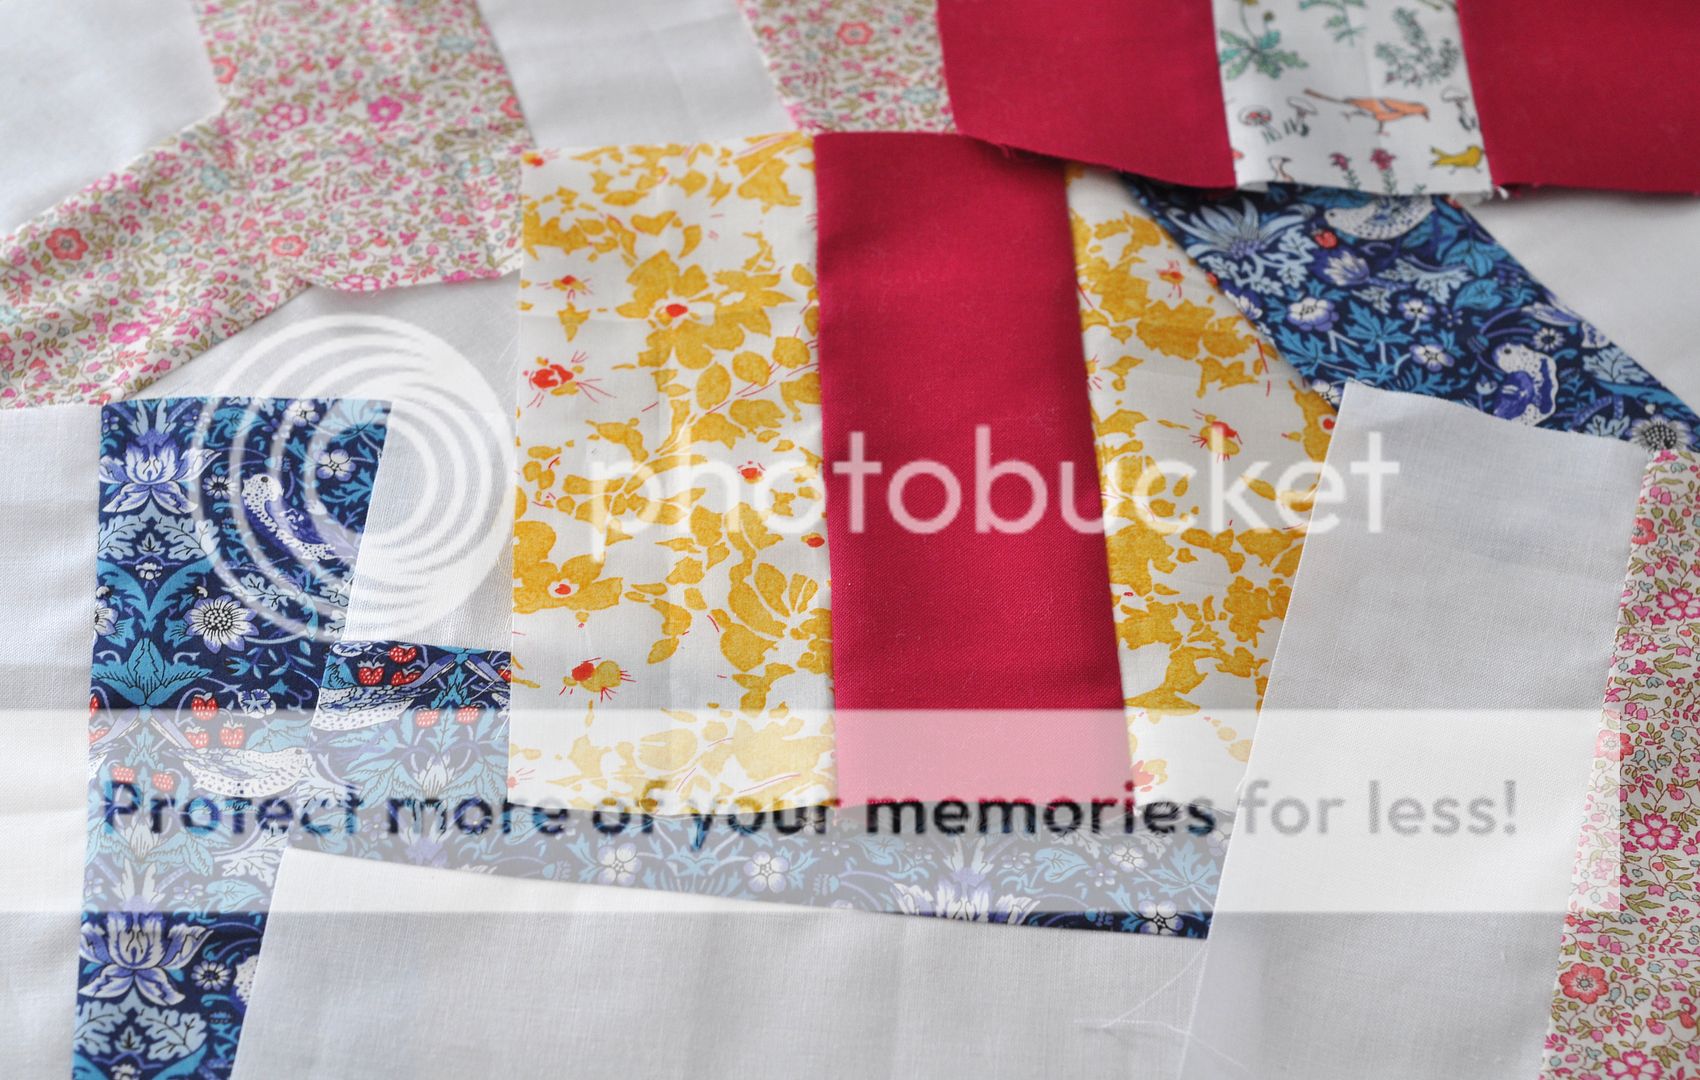
5. Now, you can lay out your blocks, using a design wall or a larger empty floor space. The blocks are laid out in an alternating fashion -- the strips point vertically in the first, horizontally in the second, vertically in the third, and so on.
Hint: Place the most eye-catching, the brightest and darkest colours where you want them first, as these will create the movement and interest in your final quilt. Calmer and more neutral colours can then be filled in around them.

6. Once you are happy with the placement of your blocks, you can place the border strips around the edges. You will need 32 strips, plus four pieces 2 1/2" x 2 1/2" for the corners.
Tip: any off-cuts or cutting mistakes from your strip-cutting can be trimmed and used as the corners!
Place eight 2 1/2" x 6 1/2" strips along each edge. Their edges should line up with each block. You may want to use solid white strips to go alongside blocks with darker solids in them, and use contrasting colours in general on the borders so they compliment rather than confuse the design.
Place one 2 1/2" x 2 1/2" square in each corner.


7. Sew the top and bottom border pieces together, each as a long row, beginning and ending with a corner square.

8. And then sew the quilt blocks together -- again, sewing each of them as a long row first, beginning and ending each row with a border strip.

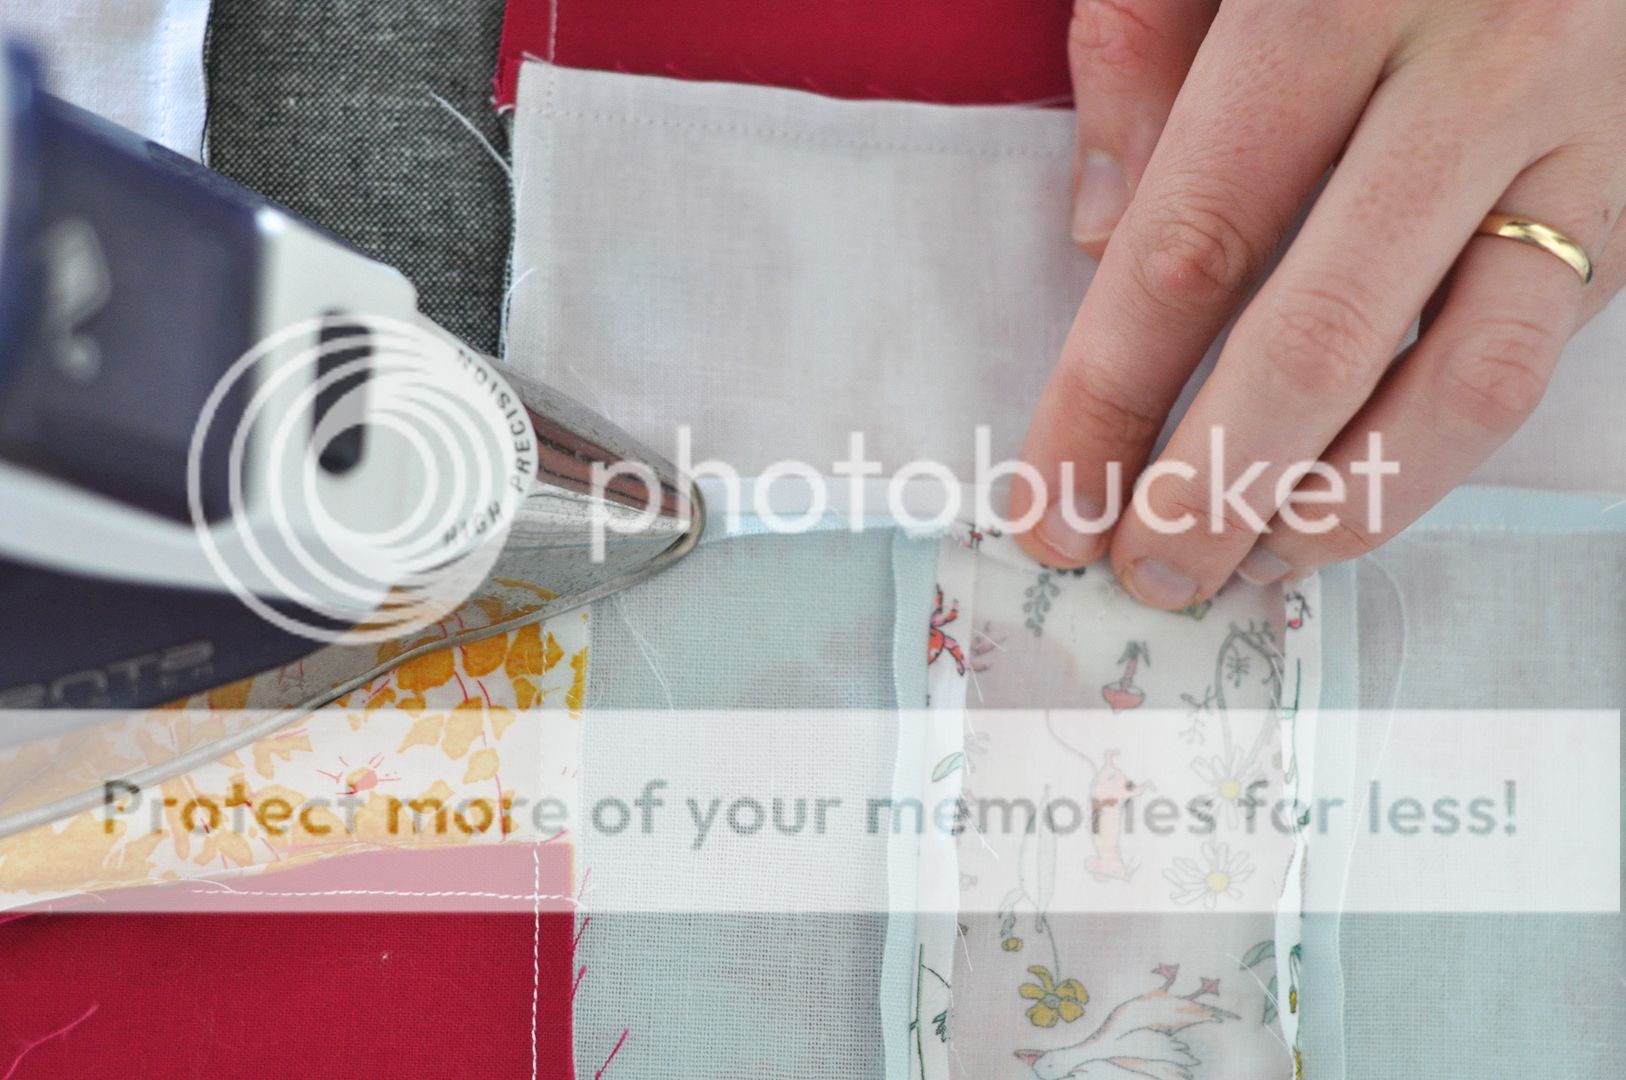
9. Iron the seams open, and then sew your rows of blocks together, in order, to form your quilt top.
10. Back, baste and quilt your design. For this pattern, I love long, straight lines of quilting stitches, 1/2" apart, across the whole top.

Now, enjoy your quilt, preferably on a Spring day, with scones and tea!

For more ideas on how to put your lovely Liberty fabrics to use, pop over to the folks below over the next fortnight to see what they have created:
February 24th: Kick Off! Amanda at A Crafty Fox
February 25th: Astrid at Red, Red Completely Red
February 26th: Svetlana at Sotak Handmade
February 26th: Andy at A Bright Corner
February 27th: Chase at Quarter Inch Mark
March 1st: Emily at Simple Girl Simple Life
March 2nd: Ashley at Film In The Fridge
March 3rd: Lee at Freshly Pieced
March 4th: Audrie at Blue is Bleu
March 5th: Amanda at A Crafty Fox


3 comments:
Very cool quilt. I so hate to waste even the tiniest scrap of my Liberty! Thank you for sharing.
I am pleased to see that someone of your caliber has open seams that look like mine... So I guess I'm doing alright after all!!! Whew! Those can be tricky!
Hey, friend!! What's happened to your instagram account?! I've missed you terribly!
Post a Comment