Tuesday, November 24, 2015

quilting from every angle

 photo DSC_0625.jpg

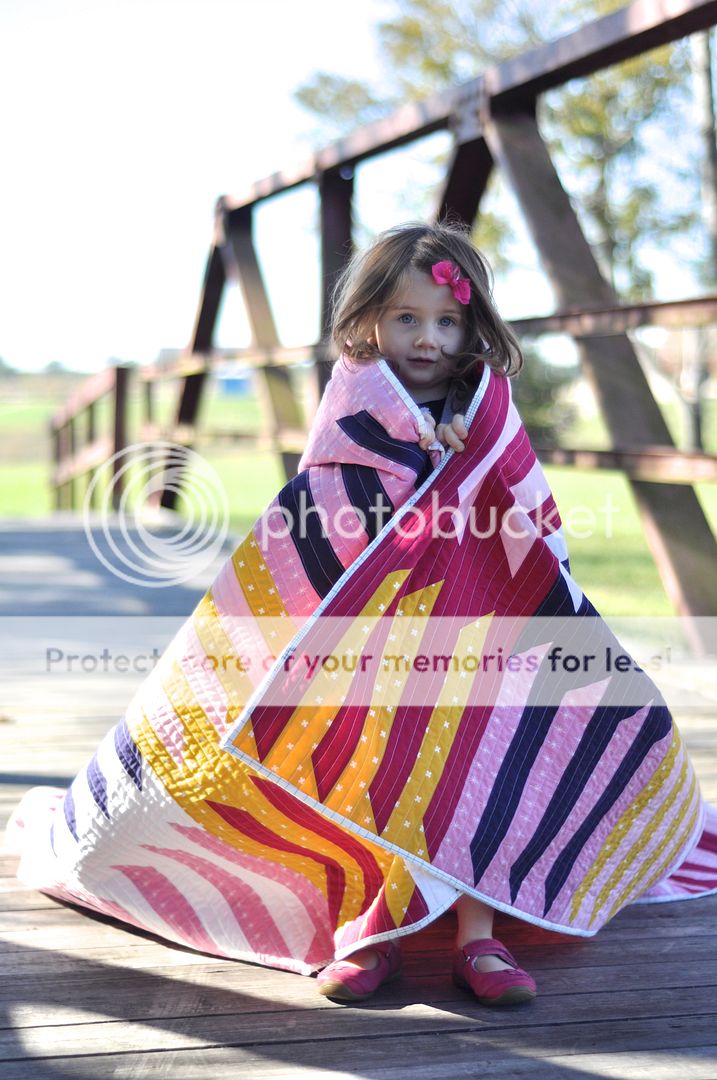
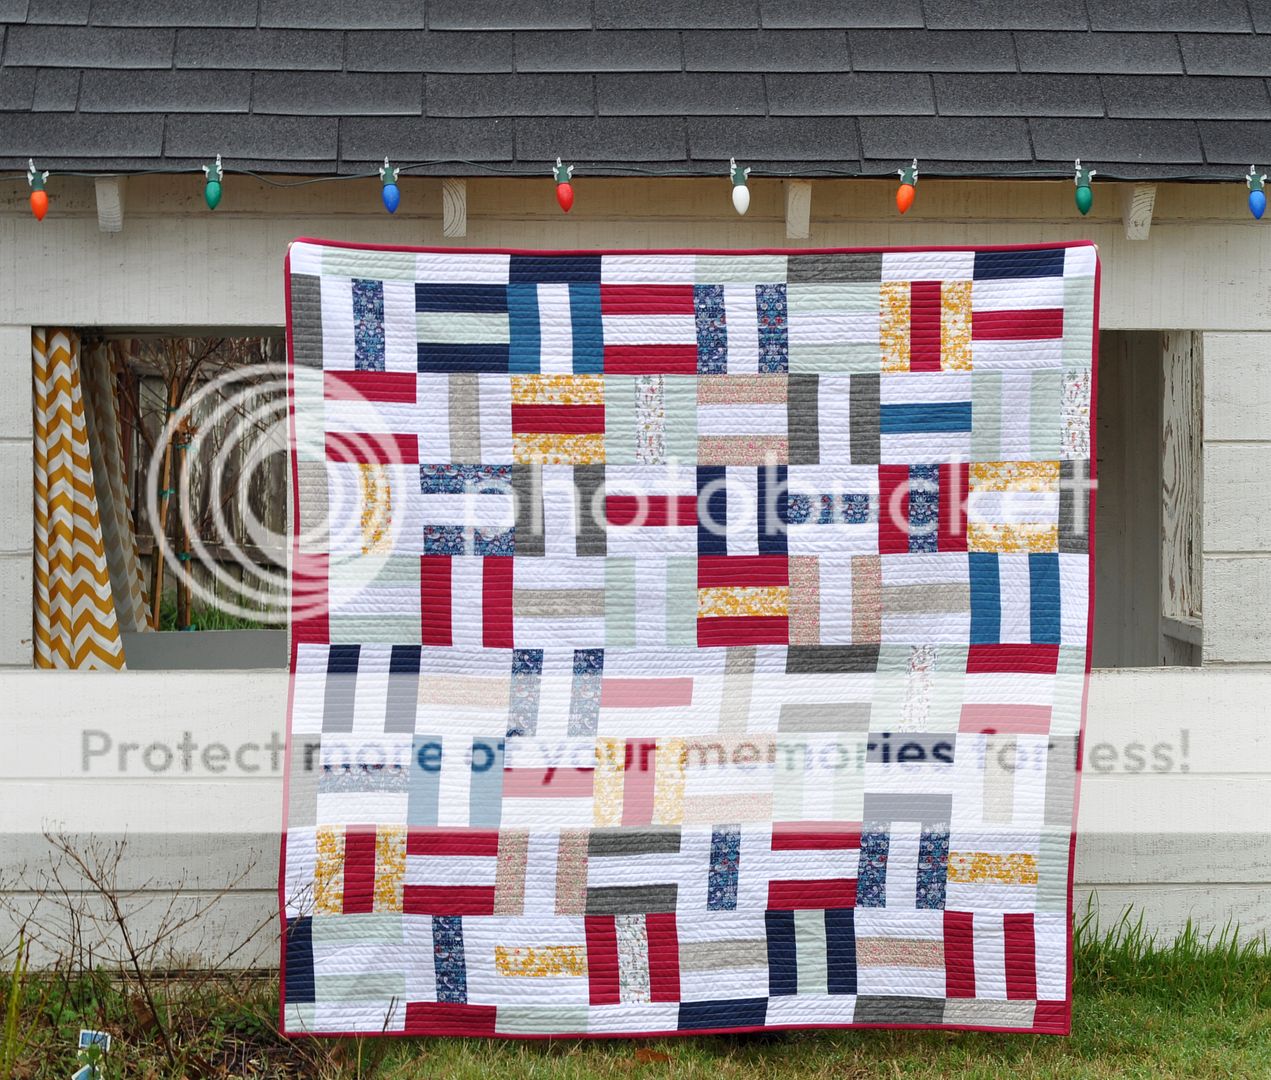
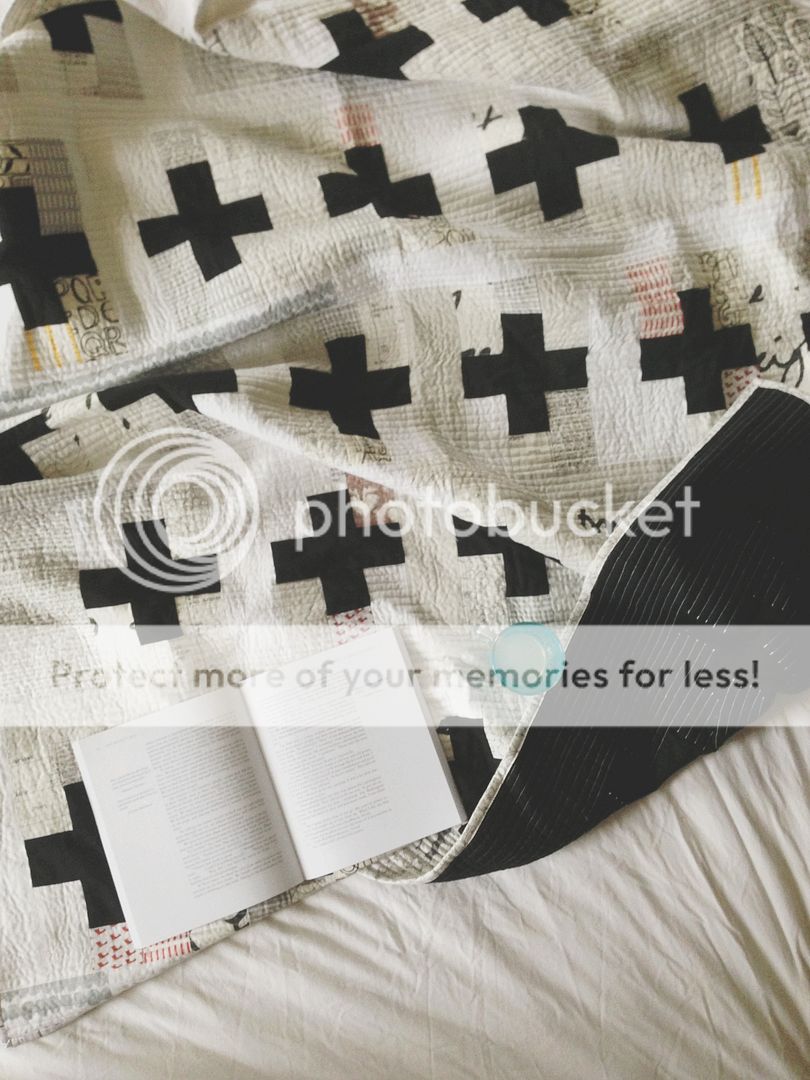
This pattern is called "Vertebrae", and comes from a beautiful new book, Quilting From Every Angleby my lovely friend Nancy Purvis of Owen's Olivia.

It's a book full of fantastic patterns -- all modern and angular, and full of vitality. This one won out first, though, partly because I've always had an interest in interlocking shapes, but mostly because I fell in love with the fact that it is inspired by the vertebrae in our spines. Bones as beauty. Strength and might reimagined in the softness of fabric.

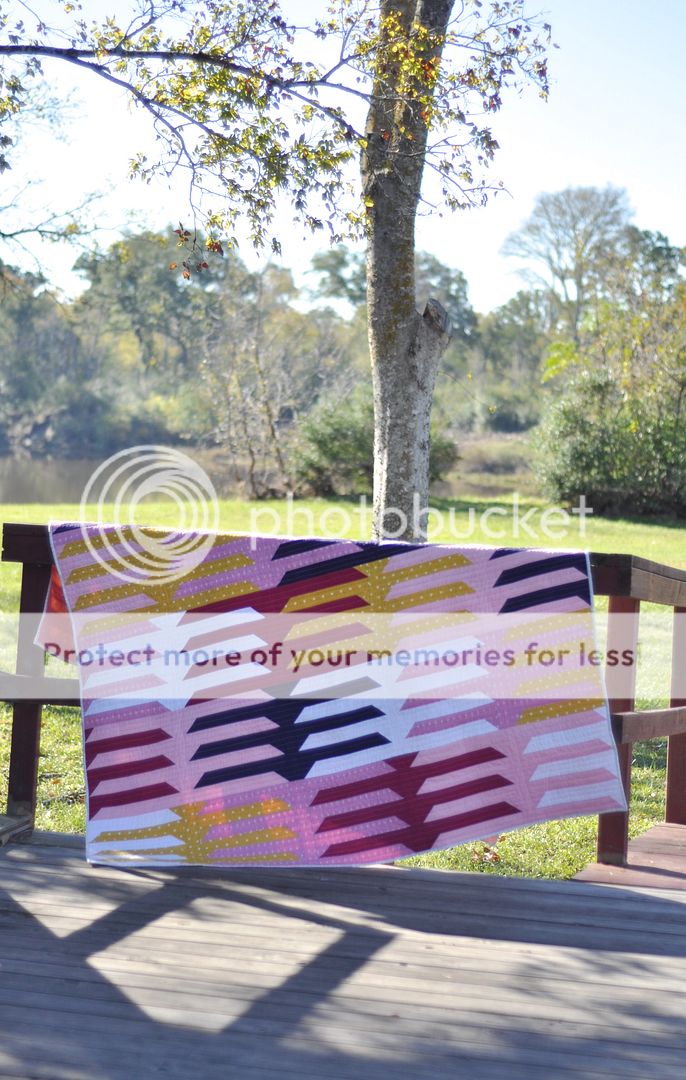
 photo DSC_0637.jpg  photo DSC_0522.jpg

Unofficially, though, I've named this quilt "Arise", because it embodies some of the struggle I've felt this year between the weariness and the hopefulness of rising.

I haven't written much about the word that I was given to guide me this year -- mostly because it's been a word that has torn me down before it has rebuilt me, and the rebuilding is still very much in progress. ARISE. A word of hope, of action, of standing up, of speaking up. A word that acknowledges the receding darkness, even as the pale colours of the new morning appear in the sky. A rather formal and grandiose word, but one that you can achieve quite humanly simply by choosing to roll out of bed each morning rather than rolling your head under a pillow and muffling out the world.

As I was piecing this quilt, there was one particularly hard week when it was, in fact, very difficult to even roll out of bed. Hope, for several reasons, felt lost. I dropped all the extra commitments I could -- with the exception of making this quilt. And even lacking the brain-power and heart-power to do very much at all, my fingers, my bones, seemed to still have some weak little strain of hope left in them. Enough to sew. Enough to call some wonderful friends. And eventually, enough to get back up  -- in spite of me, even -- when there was no real decision or feeling to do so.

And that's what I hope this quilt says: that underneath the layers of our thoughts and our feelings, I believe hope is present in our bones. In the body -- in all senses of that word. And that even when we can't see it, name it or feel it, that hope will help us to rise.

Here are my two assistants, who are walking, talking little incarnations of the word hope:

 photo DSC_0647.jpg photo DSC_0581.jpg

Now, some very lovely people have also made quilts from Quilting From Every Angle, and written about them without feeling the need to give sixteen shades of meaning for each word. You can find their beautiful interpretations of the patterns from the book by following the links below:

11/10- Michelle Wilkie of Factotum of Arts
11/11- Hillary Goodwin of Entropy Always Wins
11/12- Karen Lewis of Karen Lewis Textiles
11/13- Anna Graham of Noodlehead
11/16- Rachel McCormack of Wooden Spoon Quilts
11/17- Tara Larson of Rad & Happy 
11/18- Jennifer Mathis of Ellison Lane
11/19- Holly Hughes of Holly Gets Quilty
11/20- Nicole Daksiewicz of Modern Handcraft
11/23- Pat Bravo of Pat Bravo Fabric Design and Jesse Maloney of Art School Dropout
11/24- Astrid of Red Red Completely Red
11/25- Holly DeGroot of Bijou Lovely
11/26- Christopher Thompson of The Tattooed Quilter
11/27- Spoonflower

And, for all of you who are ready to sew up your own versions of these patterns, you can find the book on amazon here, and signed by Nancy here.

 photo DSC_0622.jpg

Wednesday, February 25, 2015

Tea and Scones: A Quilt Tutorial

 photo DSC_0366.jpg

I remember, clearly, the first time I touched Liberty fabric.

My Mum and I were sitting at her big farmhouse table in her kitchen in Suffolk, planning the quilts we were going to make that summer together. I had brought some cotton prints over in my suitcase for us to use, and Mum disappeared upstairs and came down with a little cardboard box, in which a dozen or so carefully-folded Liberty fabrics sat. "Do you think these would go, too?" she asked, setting them between us, and I remember that exact feeling of holding a square of the light and shimmery material with amazement and disbelief that anyone would allow me to use such beautiful fabrics.

Allowing myself to actually sew with my favourite fabrics -- such an important part of letting the joy in the creative process shine through -- began that summer, with the little cardboard box of Liberty fabric that my Mum shared with me. And, I've never looked back. I no longer hold back a pile of fabric on my shelf for later, for one day, for some future time when I'm finally "good enough". Right now, wonky seams and all, is good enough.
   photo DSC_0405.jpg

And what a pleasure it is to sew with beautiful, high-quality materials. This quilt, which I've named "Tea and Scones" in honour of the jam or cream-filled blocks, uses a selection of my favourite Liberty Lawn fabrics, in a pattern which is designed to use every last inch of a fat eighth cut. And I find that putting these prints together with solid fabrics is a lovely way not only to bring out the best in the Liberty prints, but also to put your own voice and style into the quilt with the hues and shades of the solids you choose.

So, throughout this pattern, while I have given the details and quantities of the fabrics I used, please feel free (or encouraged, even) to substitute in colours that speak to you. 

Ok, so grab your finest Liberty prints from the special place they are hoarded away, and let's get started!


 photo LibertyBlogHopButton.jpg
The Liberty fabrics for this post were provided by the "Give Me Liberty Club" -- a subscription service run by Westwood Acreswhich sends a beautiful selection of Liberty fabrics to members each month. 

Tea and Scones: Quilt Tutorial

Fabric Requirements:

5 fat-eighths of Liberty Lawn
1 yard white solid (Kona White)
1/2 yard pink solid (Kona Sangria)
1/4 yard grey solid (Essex Dyed Linen grey)
1/4 yard pale blue solid (Essex Dyed Linen blue)
1/4 yard turquoise solid (Essex Dyed Linen turquoise)
1/4 yard dark blue solid

 photo DSC_0396.jpg

Instructions:

1.
Cut your Liberty fabrics first. This pattern has been designed to use every single inch of a fat eighth cut of fabric, and so it is important how you make the cuts. First, lay the fat eighth strip out -- it will measure approximately 27" x 9 1/2". Measure 6 1/2" down from the top edge of the strip, and cut along the length of the fabric, so you have a strip that is 27" x 6 1/2". With the leftover, smaller strip, trim it to be 2 1/2" wide, so it measures 27" x 2 1/2".

Take the 6 1/2" wide strip of Liberty fabric, and cut it into 2 1/2" widths, all the way along -- this will give you ten strips.

Now take the 2 1/2" wide strip of Liberty, and cut 6 1/2" widths all the way down. These pieces will be the same size as those you have just cut (2 1/2" x 6 1/2"), but will have the pattern facing the opposite direction (horizontally as opposed to vertically) -- this will give you a further four strips, for a total of fourteen strips from each fat eighth of Liberty.

You should end up with 70 strips of Liberty fabric, each 2 1/2" x 6 1/2".

Note: In this quilt, I have used only 50 of the strips of Liberty fabric, and have given the exact quantities of each solid fabric used below. However, there is no need to use these quantities exactly -- this quilt pattern will work whatever ratio of prints to solids you choose to use.

 photo DSC_0323.jpg

2. Now cut your solid fabrics. You will need a total of 174 solid strips.

In this quilt, I used:

30 strips of Kona Sangria
84 strips of Kona White
14 strips of grey Essex Dyed Linen
25 strips of light blue Essex Dyed Linen
7 strips of turquoise Essex Dyed Linen
14 strips of navy solid

Note: You will use 192 of these strips (Liberty + solids) to construct your blocks, and the leftover 32 will be used later to create a border. 

You will also need to cut four squares 2 1/2" x 2 1/2" for the border corners, in any colour you like.

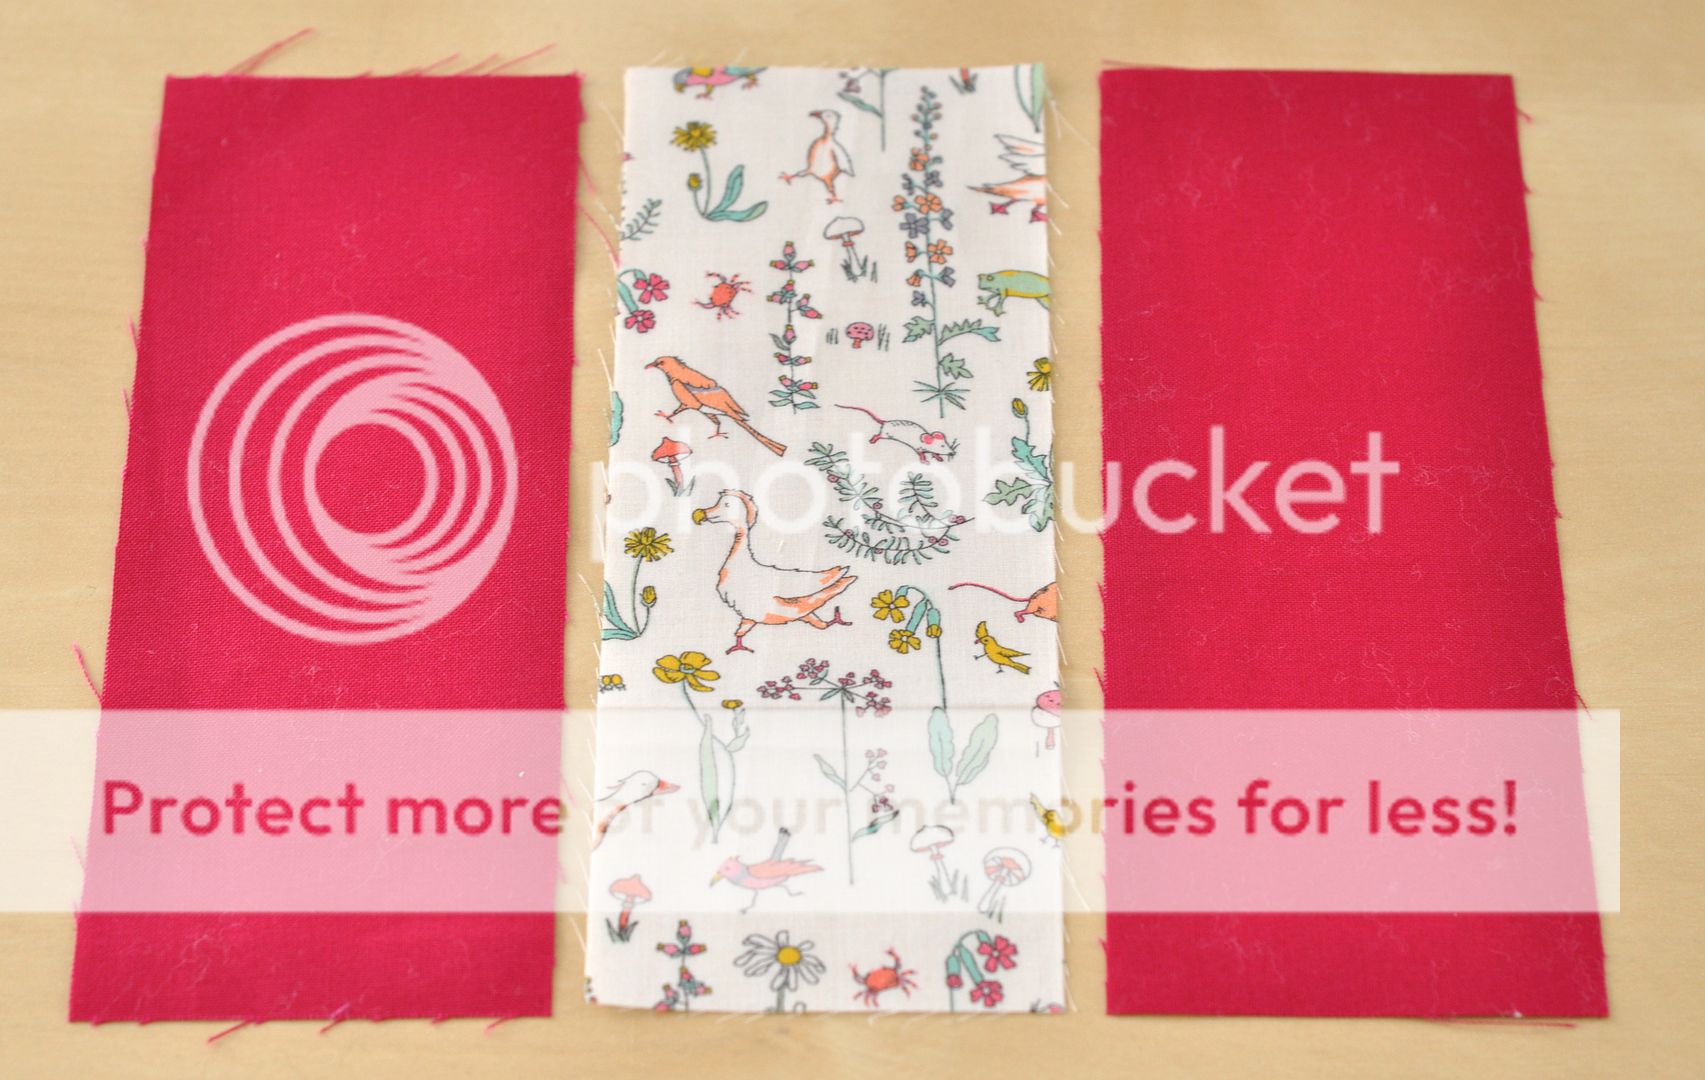
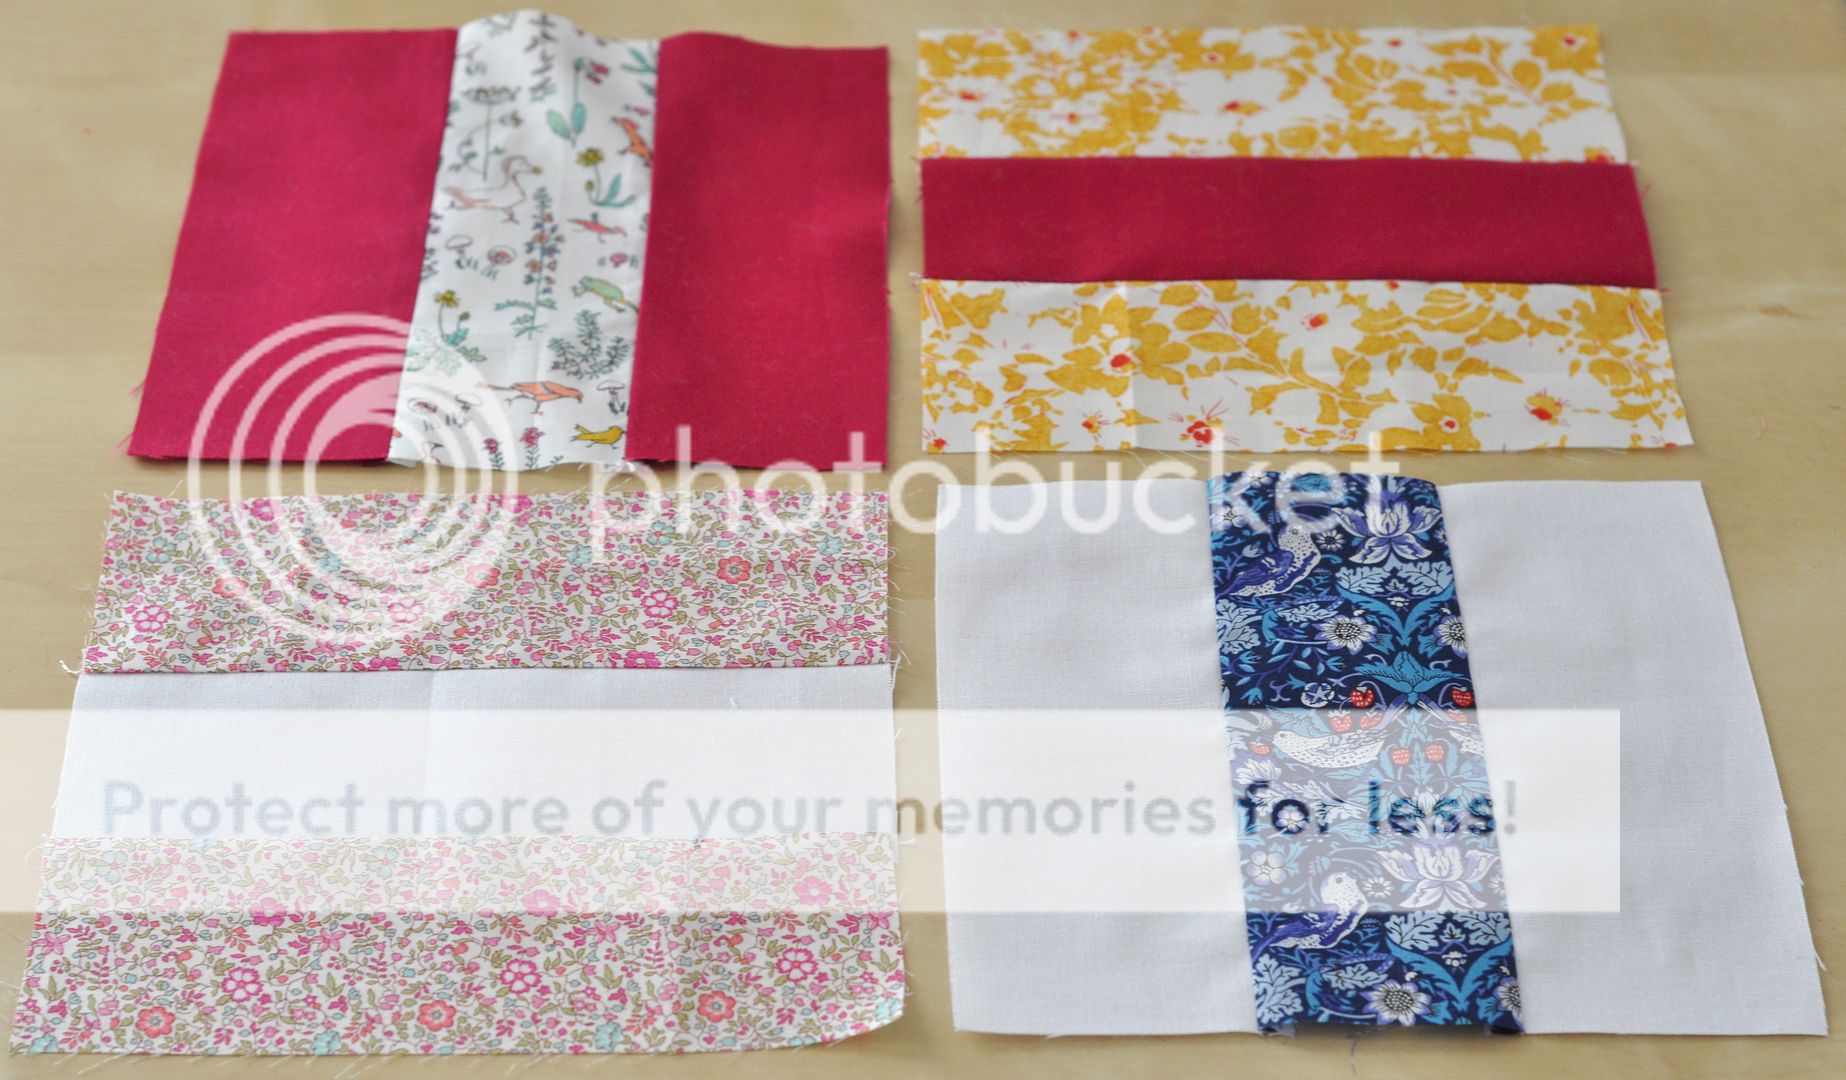
3. Now, begin to lay out your "scones" -- a pair of the same fabrics on either side of a contrasting fabric. The Liberty prints can go in the middle or on the outer edges of the block -- I found that making both styles of block created the look I wanted.

Let yourself be guided by colours you love together. Pick shades of solid fabric that enhance the colours in the Liberty prints you have chosen.

 photo DSC_0325.jpg

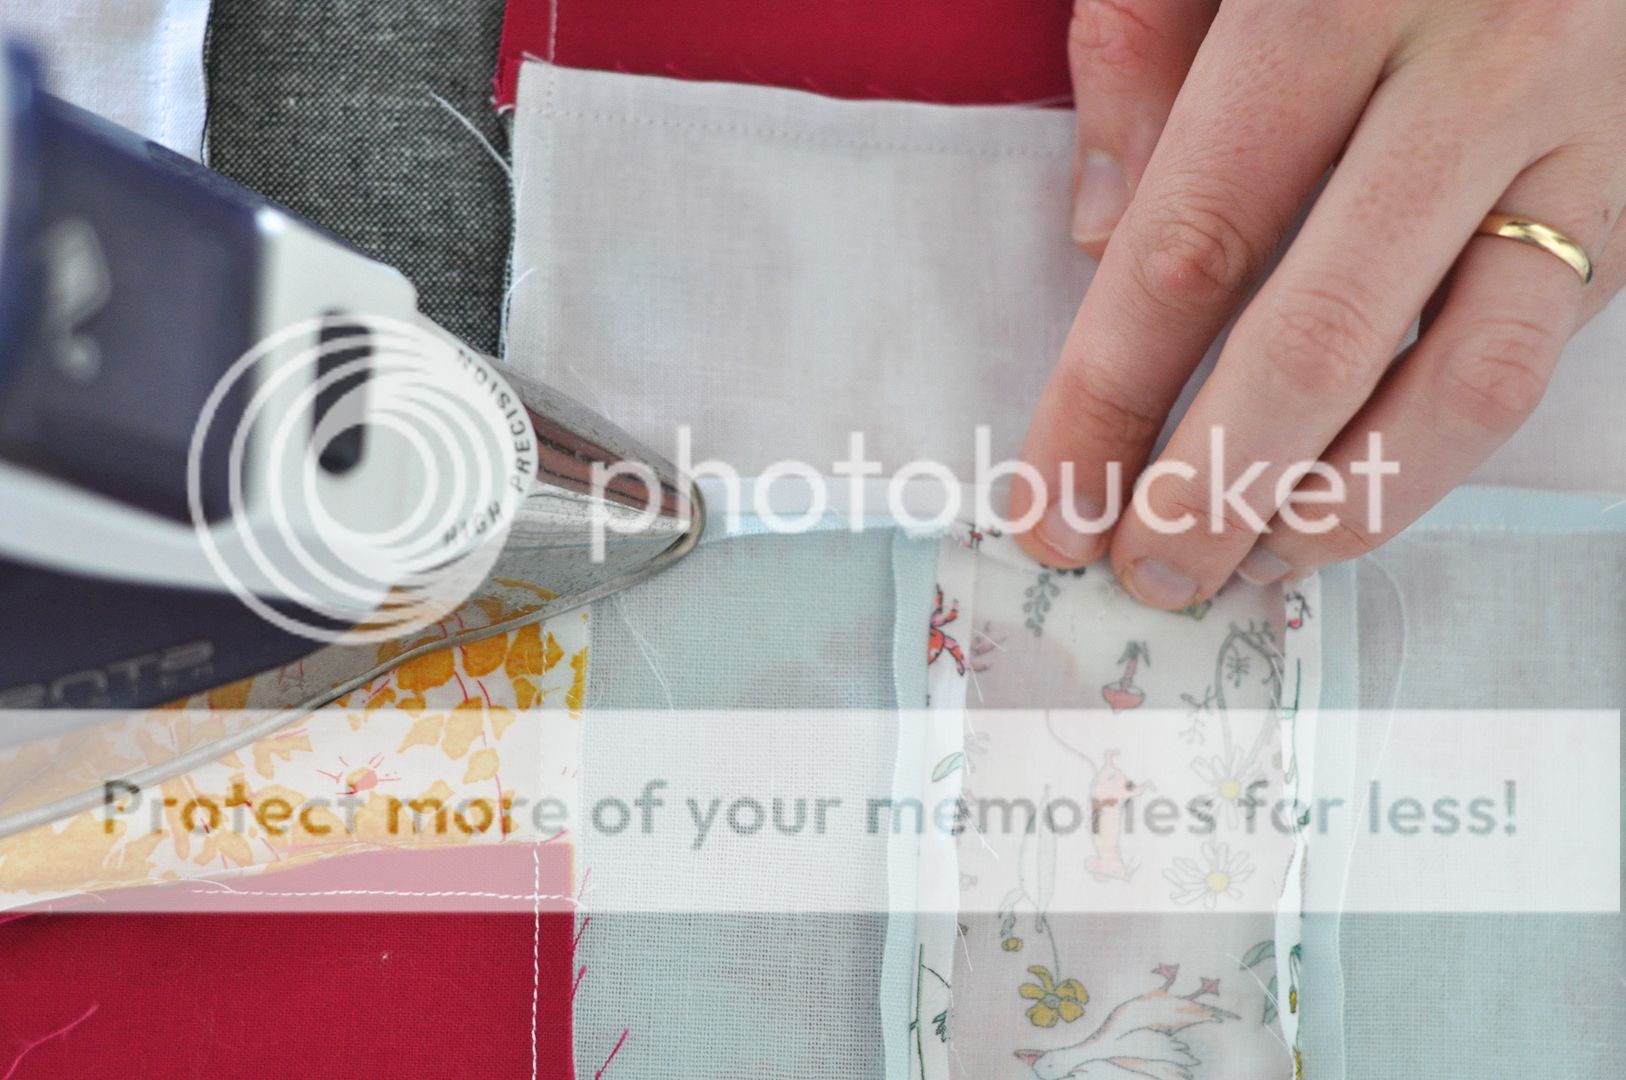
4. Assemble your "scones" by sewing the middle strip to one of the edge strips, (using 1/4" seam allowance), and then attaching the second edge strip to the other side of the middle strip. Iron all seams flat.

You will need to assemble 64 blocks to make this 51" x 51" quilt.

 photo DSC_0317.jpg  photo DSC_0328.jpg

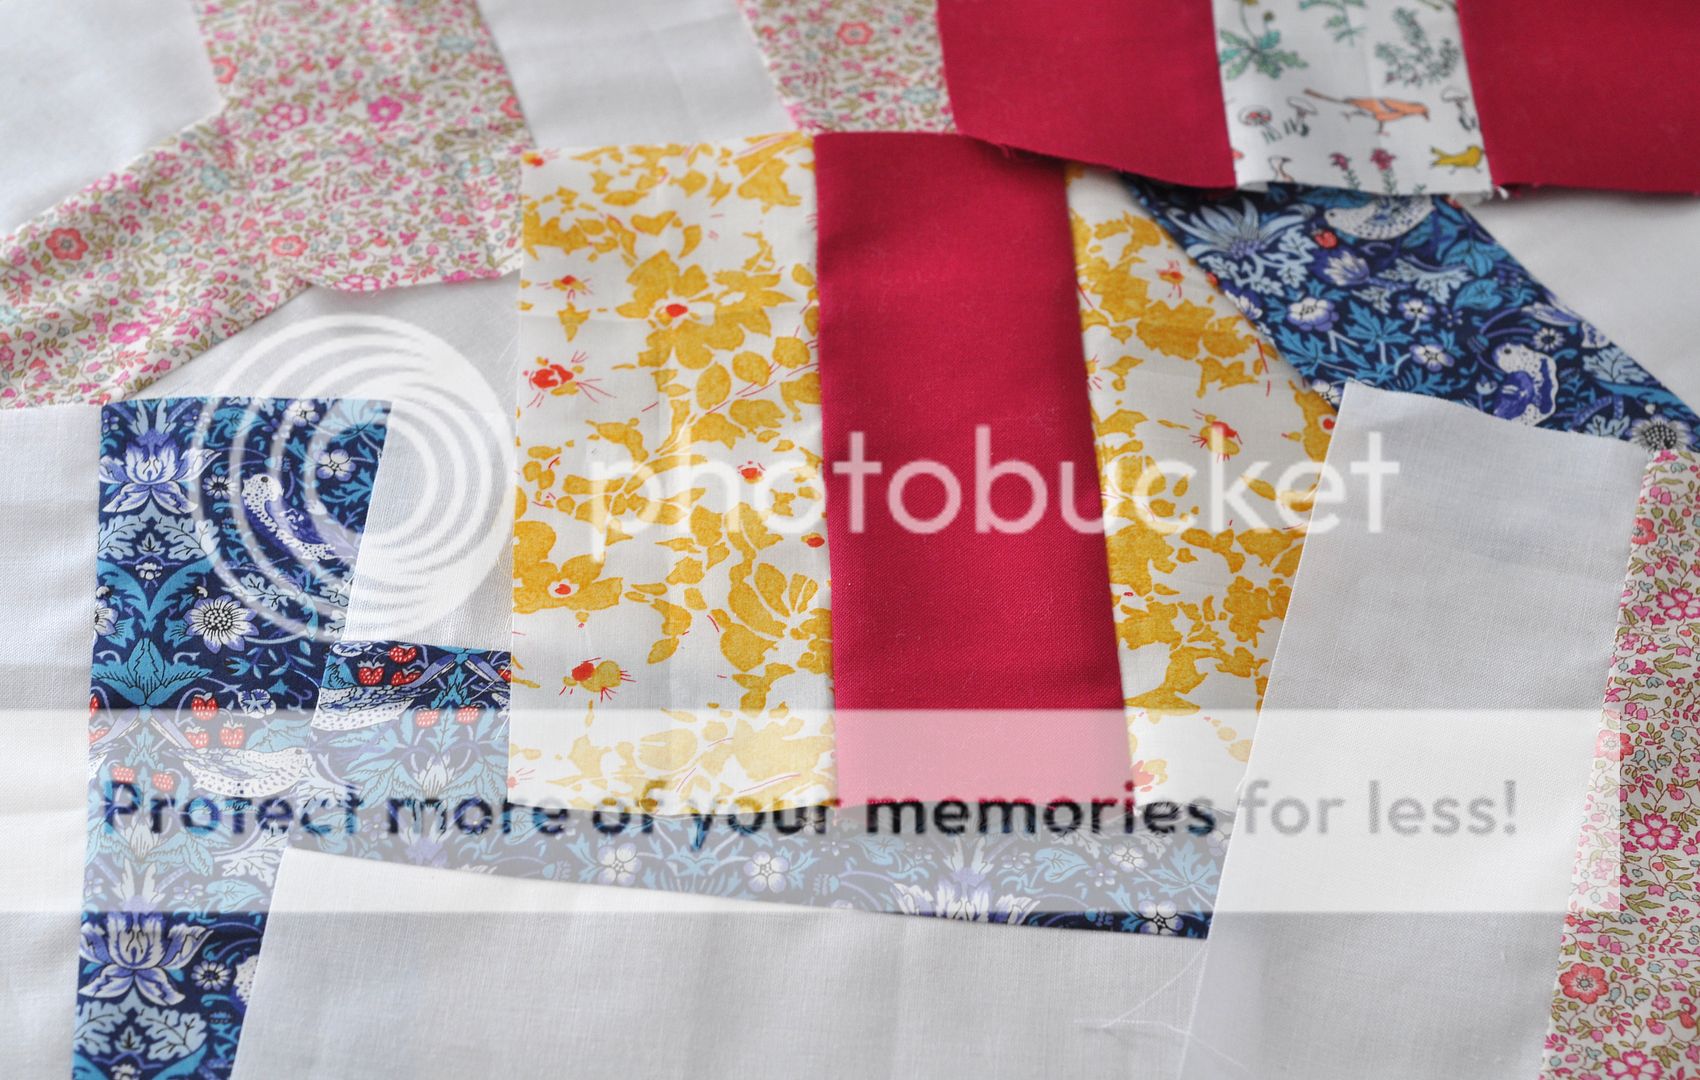
5. Now, you can lay out your blocks, using a design wall or a larger empty floor space. The blocks are laid out in an alternating fashion -- the strips point vertically in the first, horizontally in the second, vertically in the third, and so on.

Hint: Place the most eye-catching, the brightest and darkest colours where you want them first, as these will create the movement and interest in your final quilt. Calmer and more neutral colours can then be filled in around them.

 photo DSC_0320.jpg

6. Once you are happy with the placement of your blocks, you can place the border strips around the edges. You will need 32 strips, plus four pieces 2 1/2" x 2 1/2" for the corners.

Tip: any off-cuts or cutting mistakes from your strip-cutting can be trimmed and used as the corners!

Place eight 2 1/2" x 6 1/2" strips along each edge. Their edges should line up with each block. You may want to use solid white strips to go alongside blocks with darker solids in them, and use contrasting colours in general on the borders so they compliment rather than confuse the design.

Place one 2 1/2" x 2 1/2" square in each corner.

 photo DSC_0332.jpg  photo DSC_0337.jpg

7. Sew the top and bottom border pieces together, each as a long row, beginning and ending with a corner square.
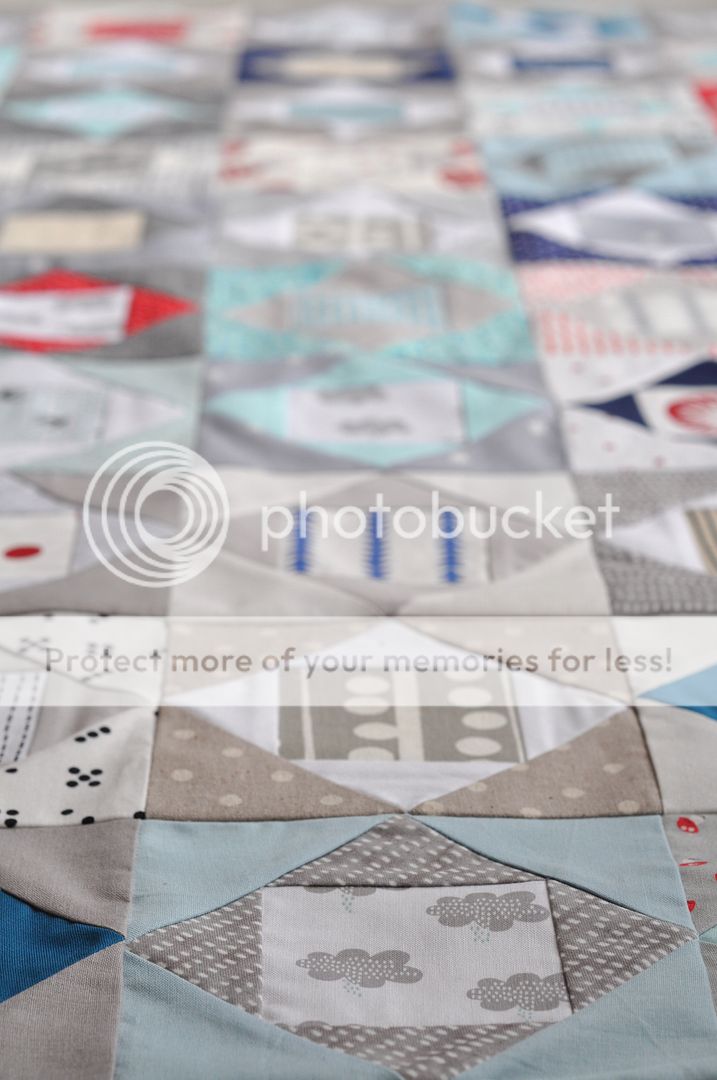
 photo DSC_0347.jpg

8. And then sew the quilt blocks together -- again, sewing each of them as a long row first, beginning and ending each row with a border strip.

 photo DSC_0346.jpg

9. Iron the seams open, and then sew your rows of blocks together, in order, to form your quilt top.
   photo DSC_0353-1.jpg

10. Back, baste and quilt your design. For this pattern, I love long, straight lines of quilting stitches, 1/2" apart, across the whole top.

 photo DSC_0397.jpg

Now, enjoy your quilt, preferably on a Spring day, with scones and tea!

 photo DSC_0367.jpg

 photo DSC_0384.jpg

For more ideas on how to put your lovely Liberty fabrics to use, pop over to the folks below over the next fortnight to see what they have created:

February 24th: Kick Off! Amanda at A Crafty Fox
February 25th: Astrid at Red, Red Completely Red
February 26th: Svetlana at Sotak Handmade
February 26th: Andy at A Bright Corner
February 27th: Chase at Quarter Inch Mark
March 1st: Emily at Simple Girl Simple Life
March 2nd: Ashley at Film In The Fridge
March 3rd: Lee at Freshly Pieced
March 4th: Audrie at Blue is Bleu
March 5th: Amanda at A Crafty Fox

Tuesday, November 11, 2014

how to get over our fear of time

 photo IMG_9211.jpg

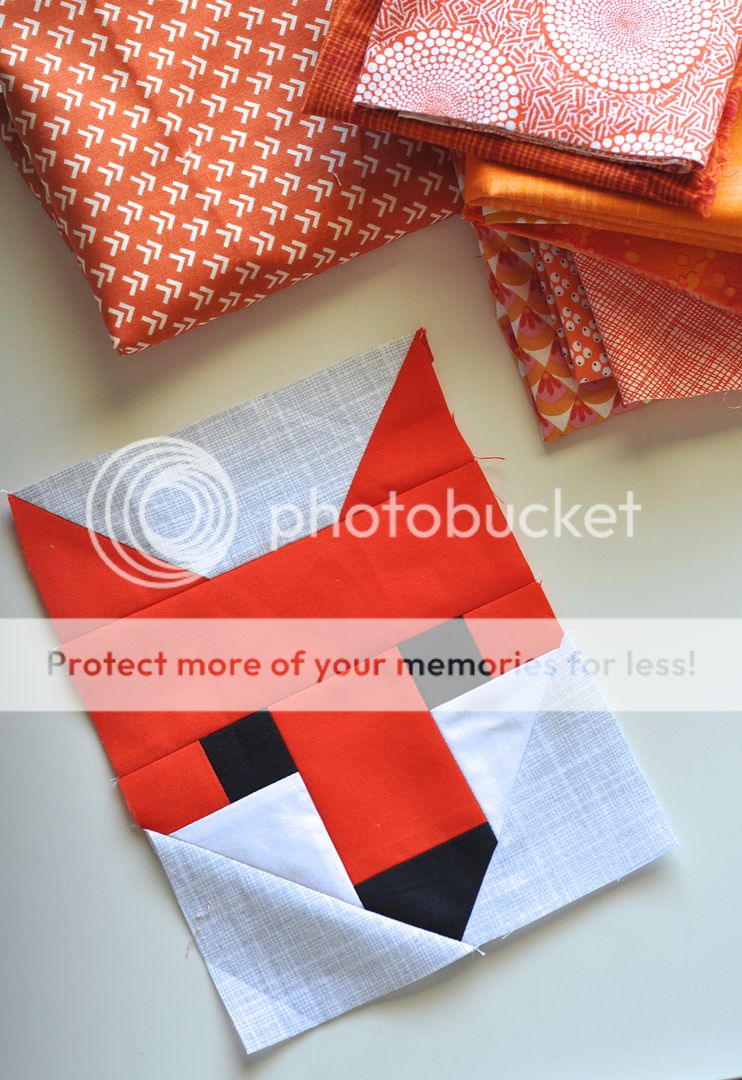
Time -- perhaps the most scruntinised aspect of artists' and makers' lives. How many hours did that take? Where do you find the time? I found that this week, in response to the Foxy quilt, many people expressed a wish to make one similar, but with a sad resignation that it would take too long.

This tally of hours we assign to handmade things seems to be the number one reason to say "no" to creativity -- the overwhelming thought of forty hours, perhaps, on just one project. Nevermind that you might love those forty hours. Nevermind that you might spread it out in a happy half-an-hour here, a slow hour there (you can read more about fitting in these little pockets of creative time here). Just the idea of that much time, added up, can stop creativity dead.

How can we overcome that fear of finding time that often holds us back?

Perhaps it starts with shaking the negative connotation that anything that takes a long time must be dull and inefficient, or else impossible.

I first read about the idea that in order to become a master at something you must practice for 10,000 hours in Malcolm Gladwell's "Outliers". I'm not sure I believe in this exact pin-point of time required, but I love the way that hours are seen as a goal, an accomplishment, instead of a chore.

I remember, at first, feeling overwhelmed -- mourning all the things that I'd never be a master at because I hadn't started learning them early enough. But, at some point this year, while searching for joy in the long long hours of sewing straight line after straight line, the idea of 10,000 hours took on new meaning to me. There are lot of hours of less-than-inspiring manual labour that go into quilting. Previously, I'd found quite a bit of pleasure in counting these up so as to moan about them -- "six hours! oh, my back!" -- but the idea of that bigger picture of 10,000 hours put all that time in a different light. Those hours could now be amounting to something much greater than just back pain -- amounting to this deep, deep knowledge of something that I love and really do want to master the skills of.

As beginners at anything, it can be very useful to look to experts in that field for guidance and inspiration. I'm very grateful to the quilters who have laid out their techniques to help me learn. However, we must be careful of the danger of comparison -- of thinking, "I'll never get to where they are. And even if I do, they will already be so much better!" Perhaps it will be impossible to keep up with others. But it what is possible is to move down your own path, mastering things in your own way, at your own pace, with your own voice. And along the way, well before the 10,000 hours, you will see moments of mastery -- moments when you can look back and see your own progress taking shape.

So much depends on what we choose to include in our days, and what we decide to leave out. In that choice, we make our lives.

There can seem to be an illusive secret to finding time to create, but I wonder if it doesn't all come down to these small choices -- not right or wrong, but indicative of our priorities and goals. I often choose an un-vacuumed floor in favour of following a surge of inspiration. I choose messy hair, and unfolded laundry and simple meals. We all give things up in order to make time for what we see as important, and these choices, minute by minute, add up to who we are.


 photo IMG_9207.jpg

(Fancy Fox Quilt pattern by Elizabeth Hartman)

Thursday, November 6, 2014

my year (so far) in books

 photo IMG_6862.jpg

At the start of September, I stumbled across my list of goals for the year -- a list that my energetic January-self had written, and my less-motivated rest-of-the-year-self had never bothered to re-read. There were a few that had stuck in my memory -- either because I'd already finished them, or had given up on them (ahem, "run a 5k")-- but one that surprised me was "read twenty books."

I promptly listed the books I'd read this year so far -- a sad total of five. Three-quarters of the year gone; one-quarter of the goal met. And then, fueled by some strange determination to prove to January's version of me that I could do it, I spent the next two months buried in books. Now, twenty books have come and gone, and I can't stop -- it's a lovely habit that's come, and stayed.

I've put my list of books here, just in case you're looking for your next good read, with a star next to the ones that I particularly loved:

* The Poisonwood Bible (Barbara Kingsolver)
* Beachcoming at Miramar (Richard Bode)
* The Secret History (Donna Tartt)
* Housekeeping (Marilynne Robinson)
* My Year of Magical Thinking (Joan Didion)
* Me Talk Pretty One Day (David Sedaris)
* Dress Your Family in Corduroy and Denim (David Sedaris)
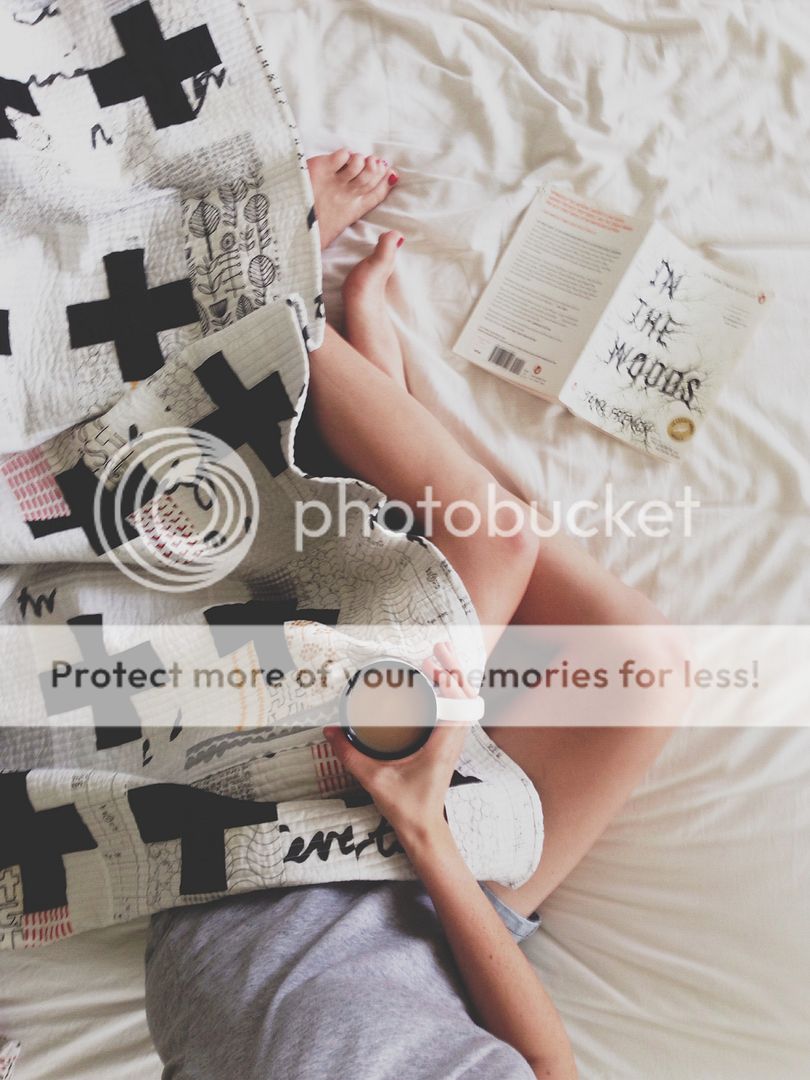
   In the Woods (Tara French)
* The Secret Life of Bees (Sue Monk Kidd)
  The Little Friend (Donna Tartt)
  When You Are Engulfed in Flames (David Sedaris)
  Let's Explore Diabetes With Owls (David Sedaris)
  St. Lucy's Home For Girls Raised By Wolves (Karen Russell)
  The Girl With the Dragon Tattoo (Stieg Larsson)
* The Virgin Suicides (Jeffrey Euginedes)
  The Woman Who Walked Into Doors (Roddy Doyle)
* The History of Love (Nicole Krauss)
  The Girl Who Played With Fire (Stieg Larsson)
  The Girl Who Kicked the Hornet's Nest (Stieg Larsson)
  Normal People Don't Live Like This (Dylan Landis)
* The Great Divorce (C. S. Lewis)
  The Gift of Stones (Jim Crace)
* Snow Falling on Cedars (David Guterson)

 photo d2336ddf-98da-4ae3-a838-7fdc7577a27a.jpg
 photo IMG_6933.jpg

A few weekends ago, to mark the end of the twentieth book -- as an excuse for a party, and a way to get some new reading material -- we had some friends round for a little book exchange.

We asked everyone to bring along a book that they had read and enjoyed, wrapped up with the first line of the book written on the outside. Then, much like the rules of the game "White Elephant" that we often play at Christmas parties, we all drew numbers from a bowl, and then, in turn, each had a chance to pick a book from the centre and unwrap it OR to steal a book previously chosen by someone else. (With the agreement that each book can only be stolen twice).

It was so much fun! There was an amazing variety of books -- literature, romantic memoir, spy novels, plays, and a two-volume statistical study (which my husband happily took home). Something for everyone.

   photo ScreenShot2014-11-06at13643PM.png

And, just because I couldn't stop laughing at these food-themed literary puns, we had much too much fun with the snacks -- serving up Poisonwood Trifle and Bananas Karenina, with Huckleberry Gin and Tonics and some Sense and Sensibili-tea. (Groan!)


Wednesday, October 22, 2014

fifty shades of fox

 photo IMG_7607.jpg  photo IMG_8145.jpg

In many ways, life at home with two little children revolves around the seasons. The spring is for picnics and planting; the summer, for dashing from one air-conditioned space to the pool and back again. This year, I loved sewing for these seasons: pastel quilts in April and May inspired by the lengthening sunsets; deep, rich quilts in July and August to remind me of what our garden gives us at that times of year.

And now, autumn is setting us free again -- the outside beckoning with new curiosities. I have not, once, though, sewn anything for the autumn -- until now.

I have to confess, I'm a little bit in love with orange this year in general -- it's been my secret weapon numerous times this year, in giving a bit of extra energy to the rather predictable turquoise-white-grey combo. And so, inspired by the (few) leaves that have begun to change in our garden, and the rather excessive family of pumpkins that have taken over our house, I chose a pattern that would fit an all-orange/red palette rather nicely...

FOXIES!

 photo DSC_0361.jpg  photo DSC_0353.jpg
 photo IMG_8464.jpg

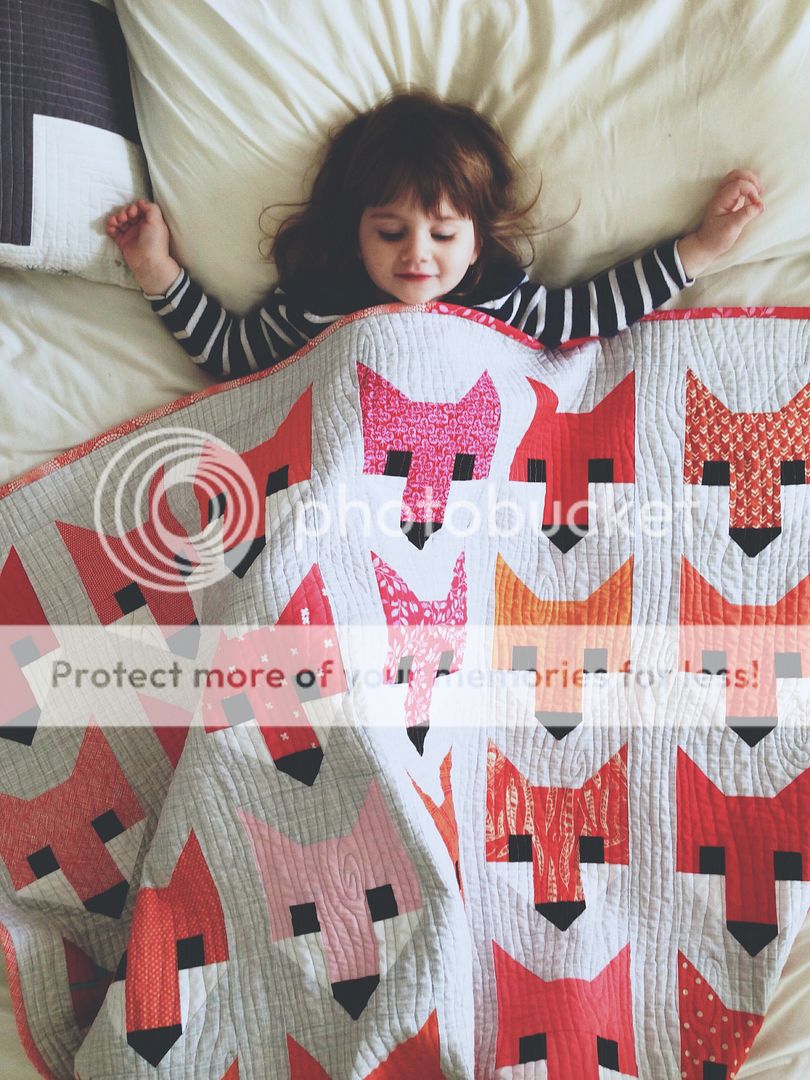
These fancy fox faces are made using a pattern by Elizabeth Hartman (Fancy Fox Quilt, bought here). I don't think I can properly describe how much fun it is to turn little squares and rectangles into faces -- and, after the first one, how surprisingly easy! And addictive.

And so, the fox wall keeps growing, thoroughly freaking my husband out whenever he comes in -- as he says, "It's like walking into the woods on a foggy morning, and there's this pack of hungry eyes staring at you...".

I'll leave you with that thought, and these forty eyes, staring at you...

 photo DSC_0348.jpg

Tuesday, February 25, 2014

how to be a unique, one-of-a-kind creation


 photo DSC_0041-2.jpg

Something that has been weighing on me recently is the incredible commercialization of creativity -- the propaganda put out there that makes us feel that we need to use colour or pattern or designer fabrics in a certain way in order to make something beautiful. Having toyed with sponsorship last year, I've had my eyes opened to the business-side of this world, and the reality that lots of people receive all the new and trendy things for free, in return for selling them to the rest of us.

And while it can be a positive way to support small shops and designers, something about that role of advertiser makes me a little uncomfortable -- in general, but especially in the way that it affects how we express ourselves creatively.

I don't want to sell you "new and trendy".

I don't want to sell you the idea that you have to take one designer's fabric collection and plug it into another designer's pattern -- a sort of "paint-by-numbers" creativity. 

I don't want to sell you anything, other than the belief that you are a unique, one-of-a-kind creation, capable of creating beauty, and that you do not have to buy any specific product to make that true.

It's a real struggle for me to shake off that need to have whatever is new. I love buying fabric and love being inspired by what others are making. There's nothing wrong with either -- we all need to get our materials somewhere! When that translates to actual creating, though, I've started to ask myself, "Is this really me? Is this what I want to make, or an idea I'm being sold? Is it the compulsive-consumer in me who wants to do this, or the one-of-a-kind artist?"

 photo DSC_0038.jpg  photo DSC_0031-3.jpg

And with all that in mind, I've been sewing with scraps this week -- putting fabrics together that may or may not go -- and finding that this is where my heart really is. In this sea of blue scraps, it's the moments when the vintage flowers of Flea Market Fancy fall next to the modern graph paper of Architextures that make me smile.

Does it go? I'm not sure. Do I like it? Yes.

And I remember that, in this life, we do not have to fit into a box. We do not have to be a poster-child for minimalism or romanticism or for anything. We certainly do not need to be somebody else's billboard. We can simple love what we love, without worrying about being consistent, and see what happens.


Saturday, February 8, 2014

joy: a finished quilt

 photo DSC_00402.jpg

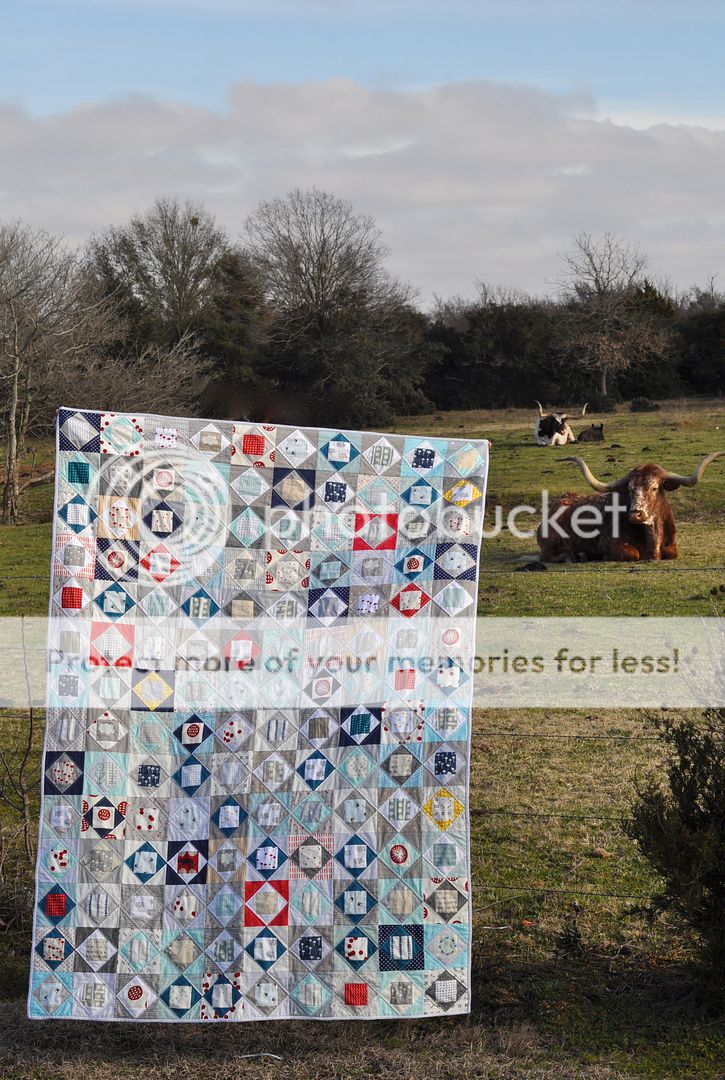
I love making things for other people, but this one... this one's for me.

 photo DSC_00422.jpg photo DSC_0051-1.jpg

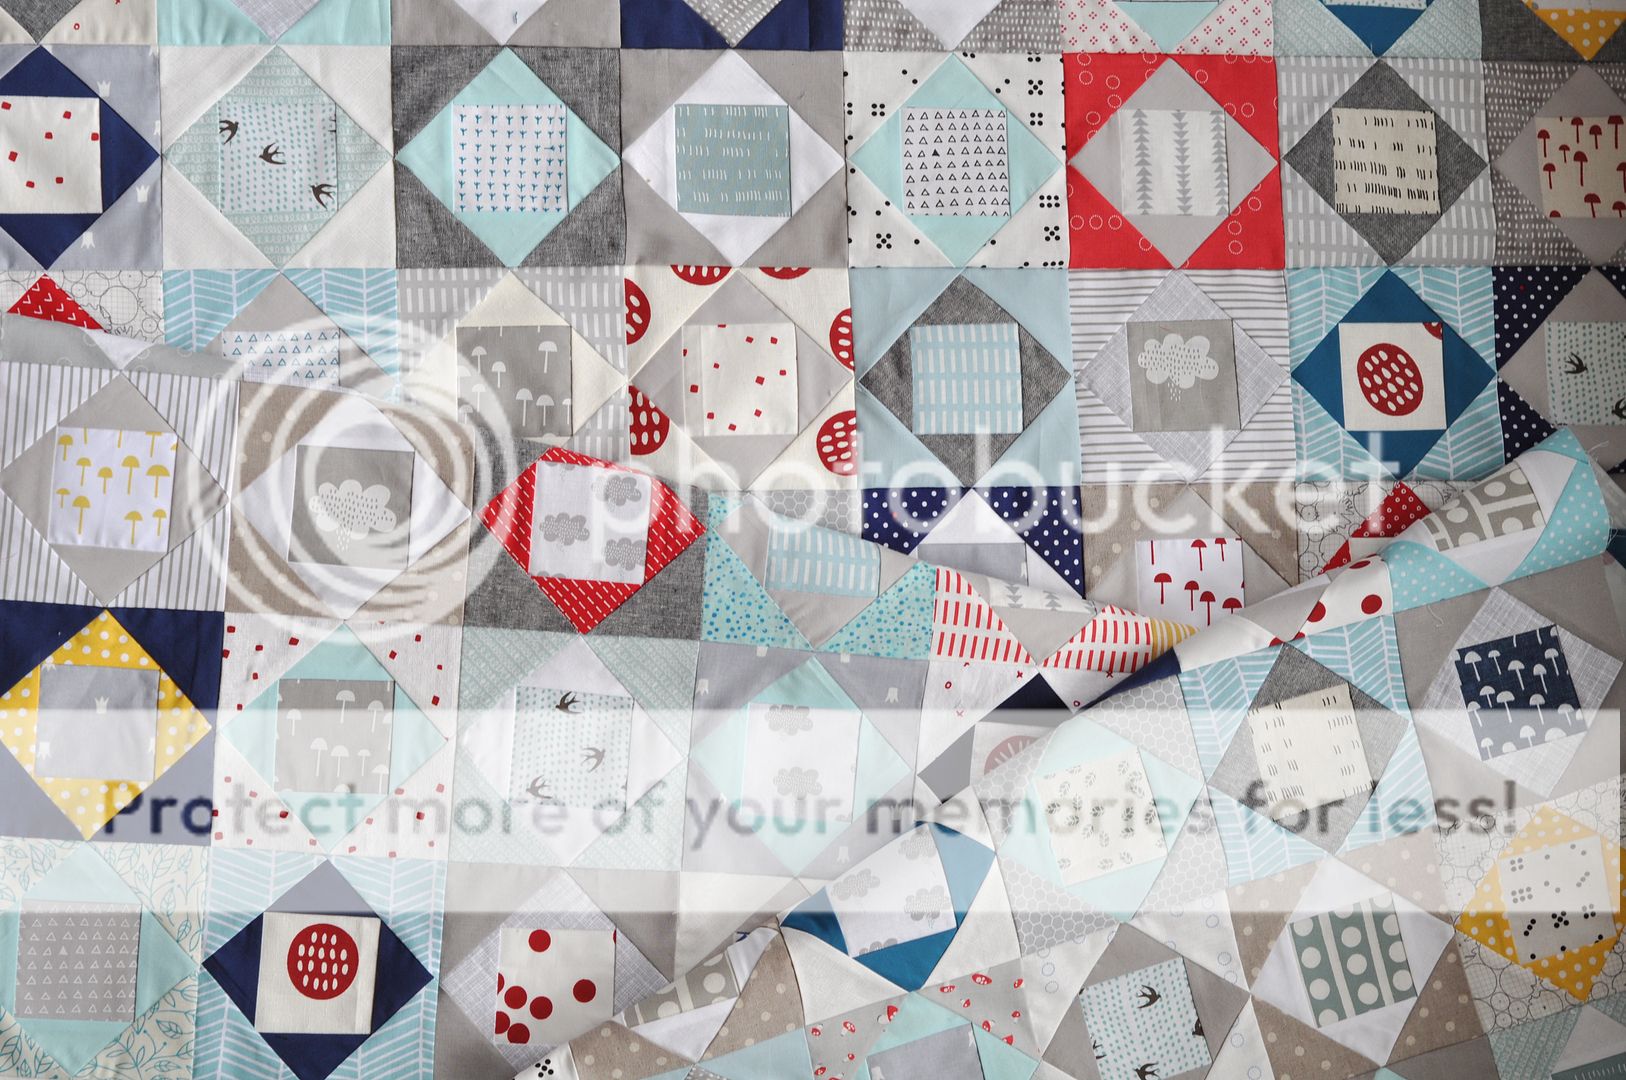
In case you'd like to make your own, here are the instructions I followed for the blocks: 5.5" Economy Block Tutorial. Time consuming, but a lovely way to make the most of your most beloved fabrics.

 photo DSC_0096.jpg
 photo DSC_0079-1.jpg

Tuesday, February 4, 2014

tutorial: dotty valentines

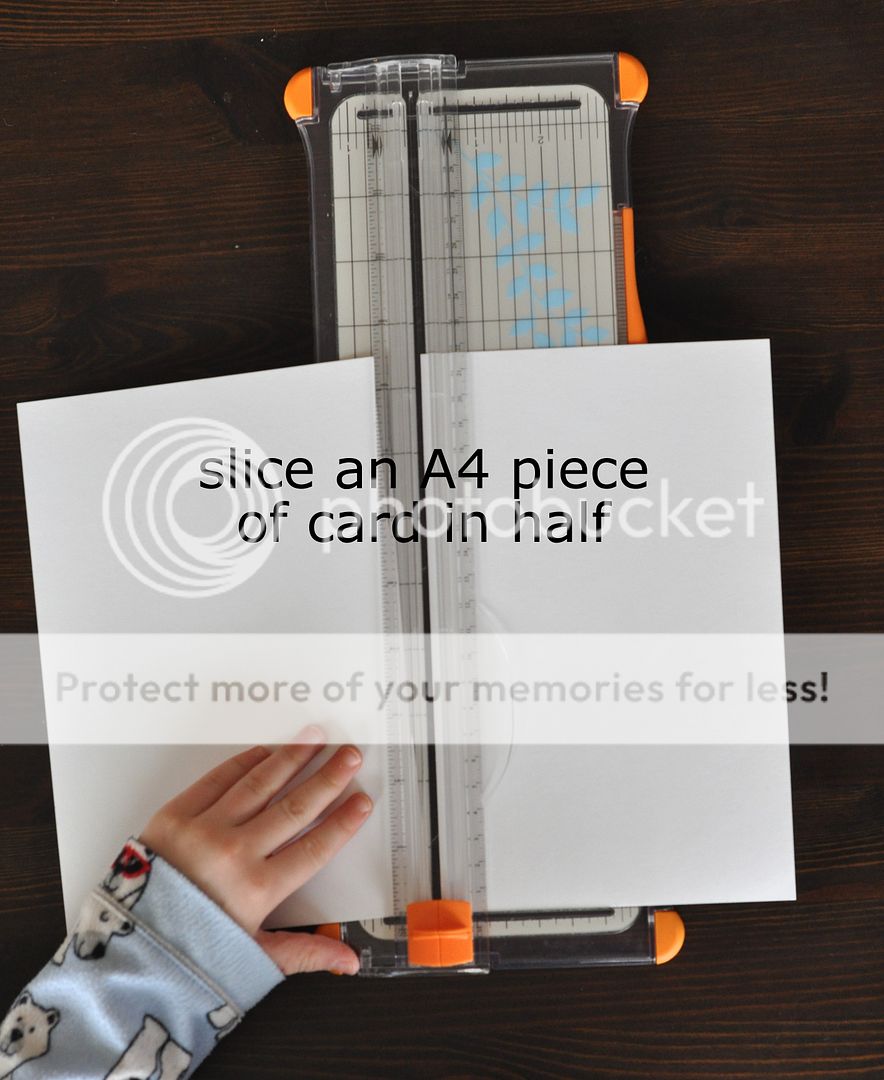
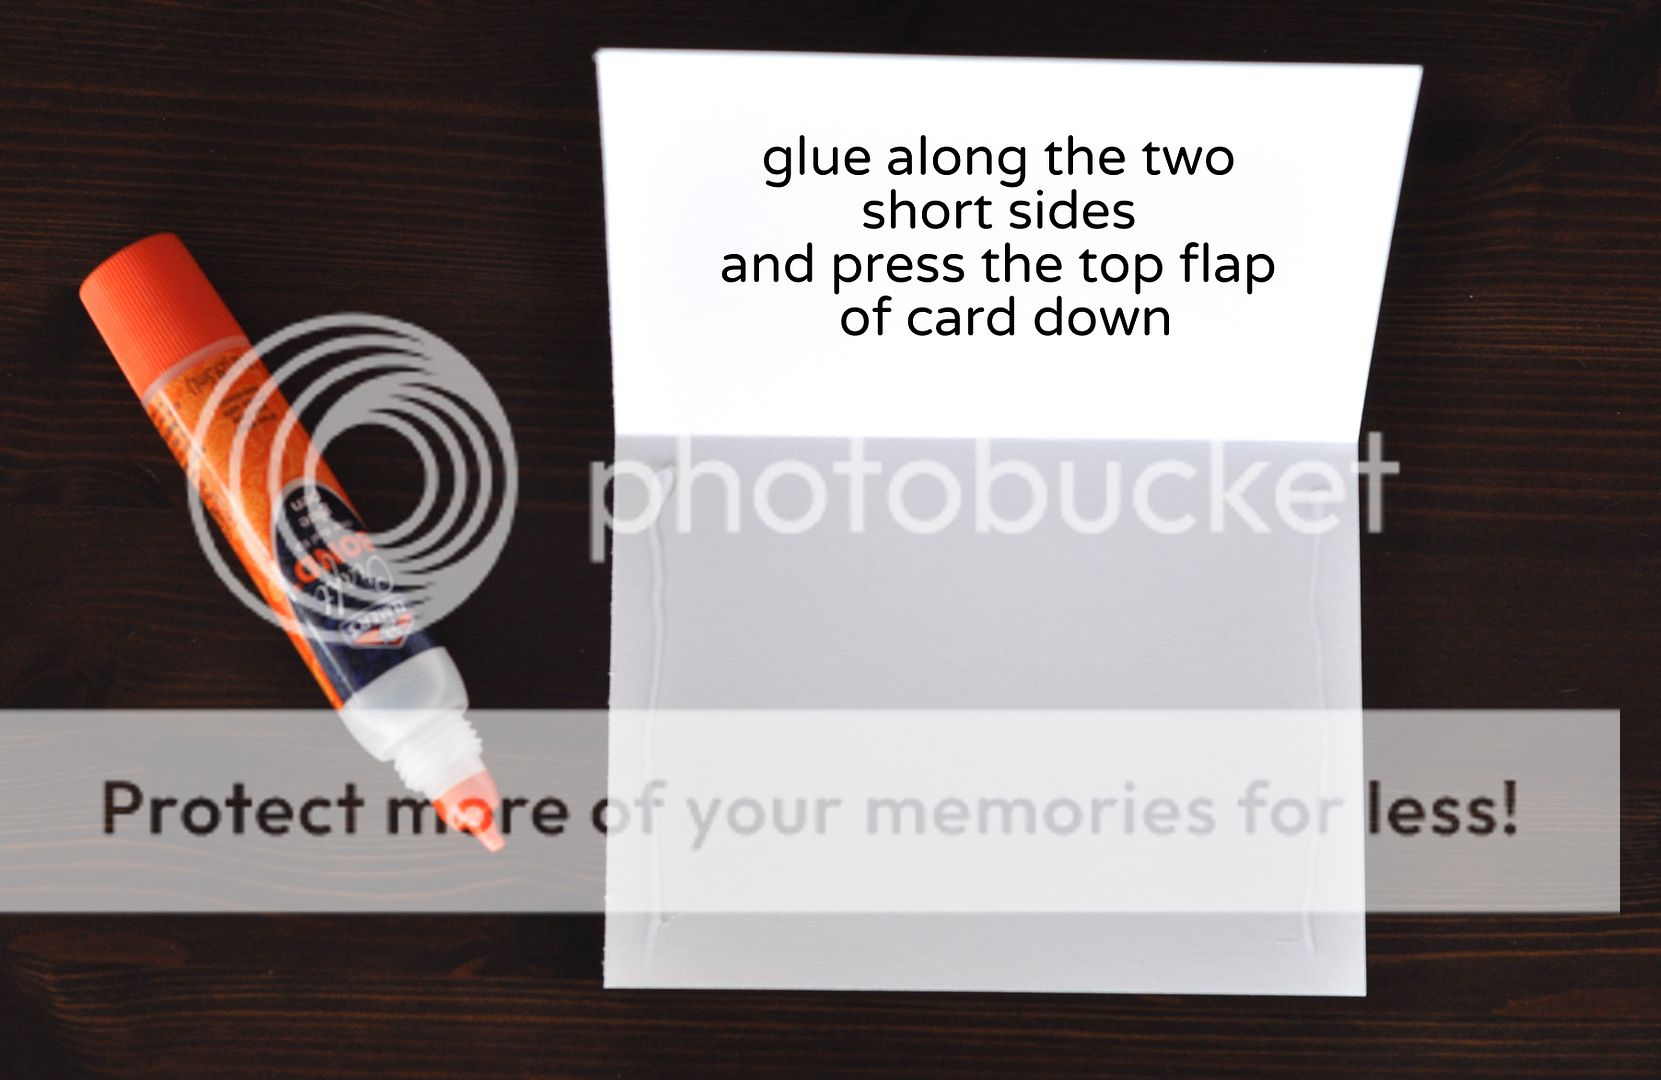
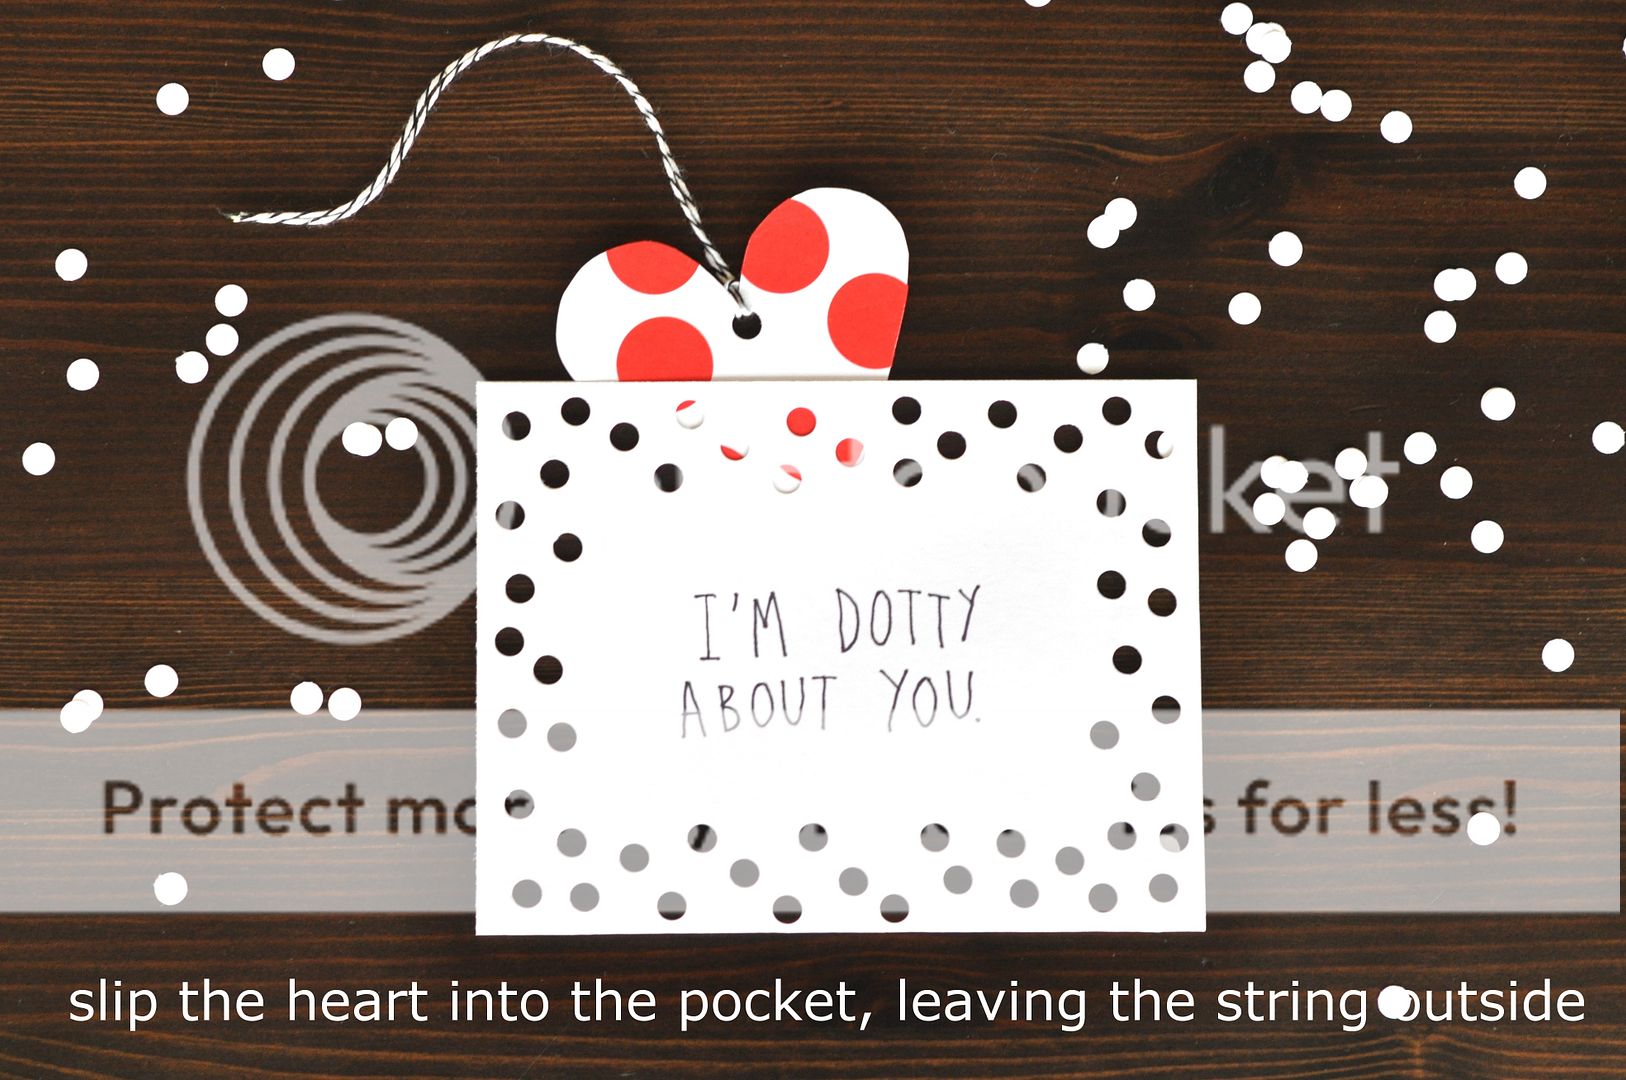
Every year, I'm amazed by the thoughtful Valentine's cards that the kids' friends give -- sweet photos, sweet puns, sweet sweets. It gets a bit stressful trying to think of something with the same wow-factor to give in return, so this year, we've just kept it simple and handmade -- plain card, stickers and a hole punch. A card that is easy to make in large quantities -- and easy for little hands to join in making, at all stages.

 photo DSC_0062.jpg

You'll need: 
plain card
a hole-punch
glue
scissors
string
a paper cutter (optional)
stickers or coloured pens
  photo DSC_0066-1.jpg  photo DSC_0068.jpg  photo DSC_0074-1.jpg  photo DSC_0114.jpg photo DSC_0082-2.jpg  photo 10fb7144-5e93-49f6-9799-469f0d925998.jpg  photo DSC_0088-1.jpg
 photo DSC_0097-1.jpg
 photo DSC_0107.jpg

I told Tilly what I was writing on the front of each card, but in true toddler fashion, she insisted the saying was, "I'm dotty JUST LIKE you." So we put that on a couple of cards, too, to give to her unashamedly crazy friends!