Showing posts with label easy. Show all posts

Tuesday, February 4, 2014

tutorial: dotty valentines

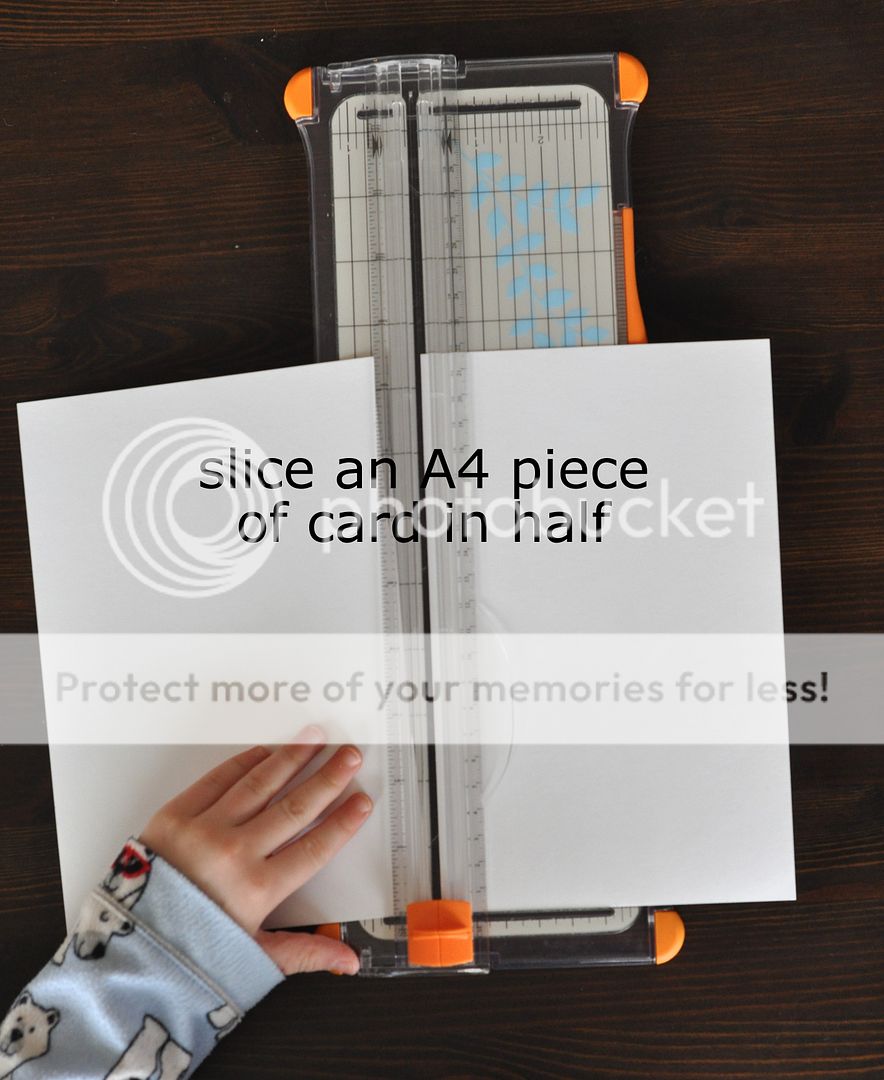
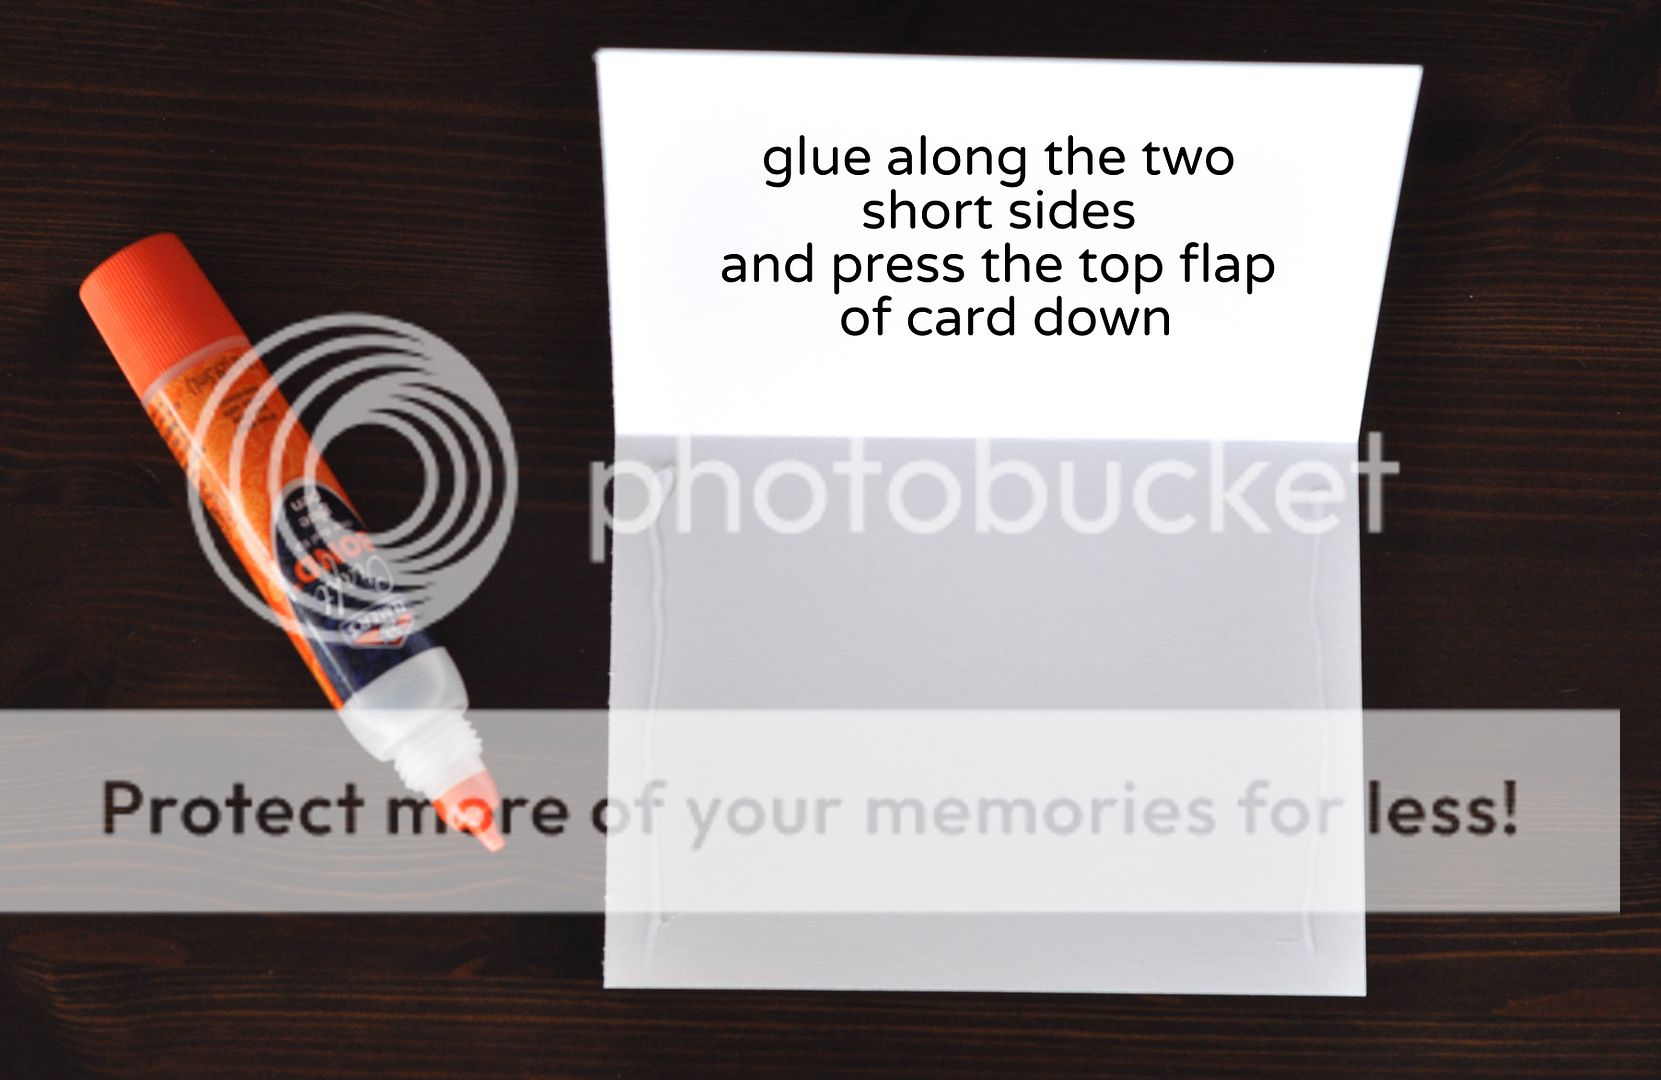
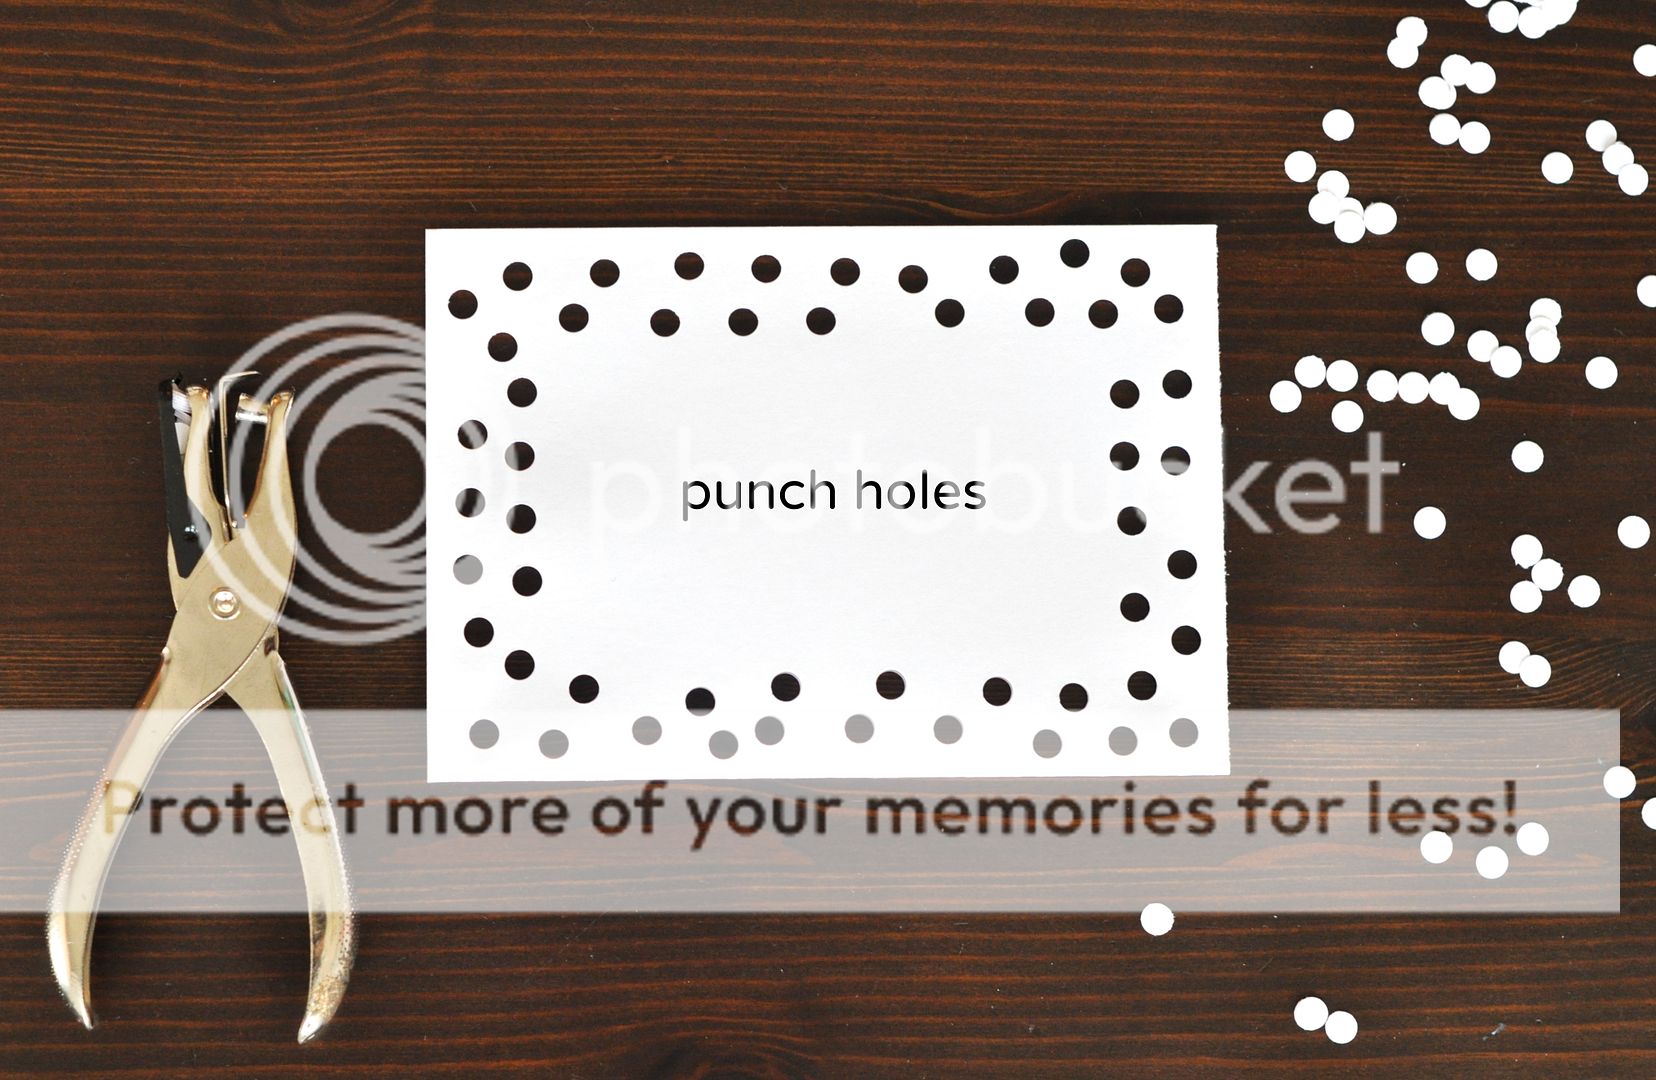
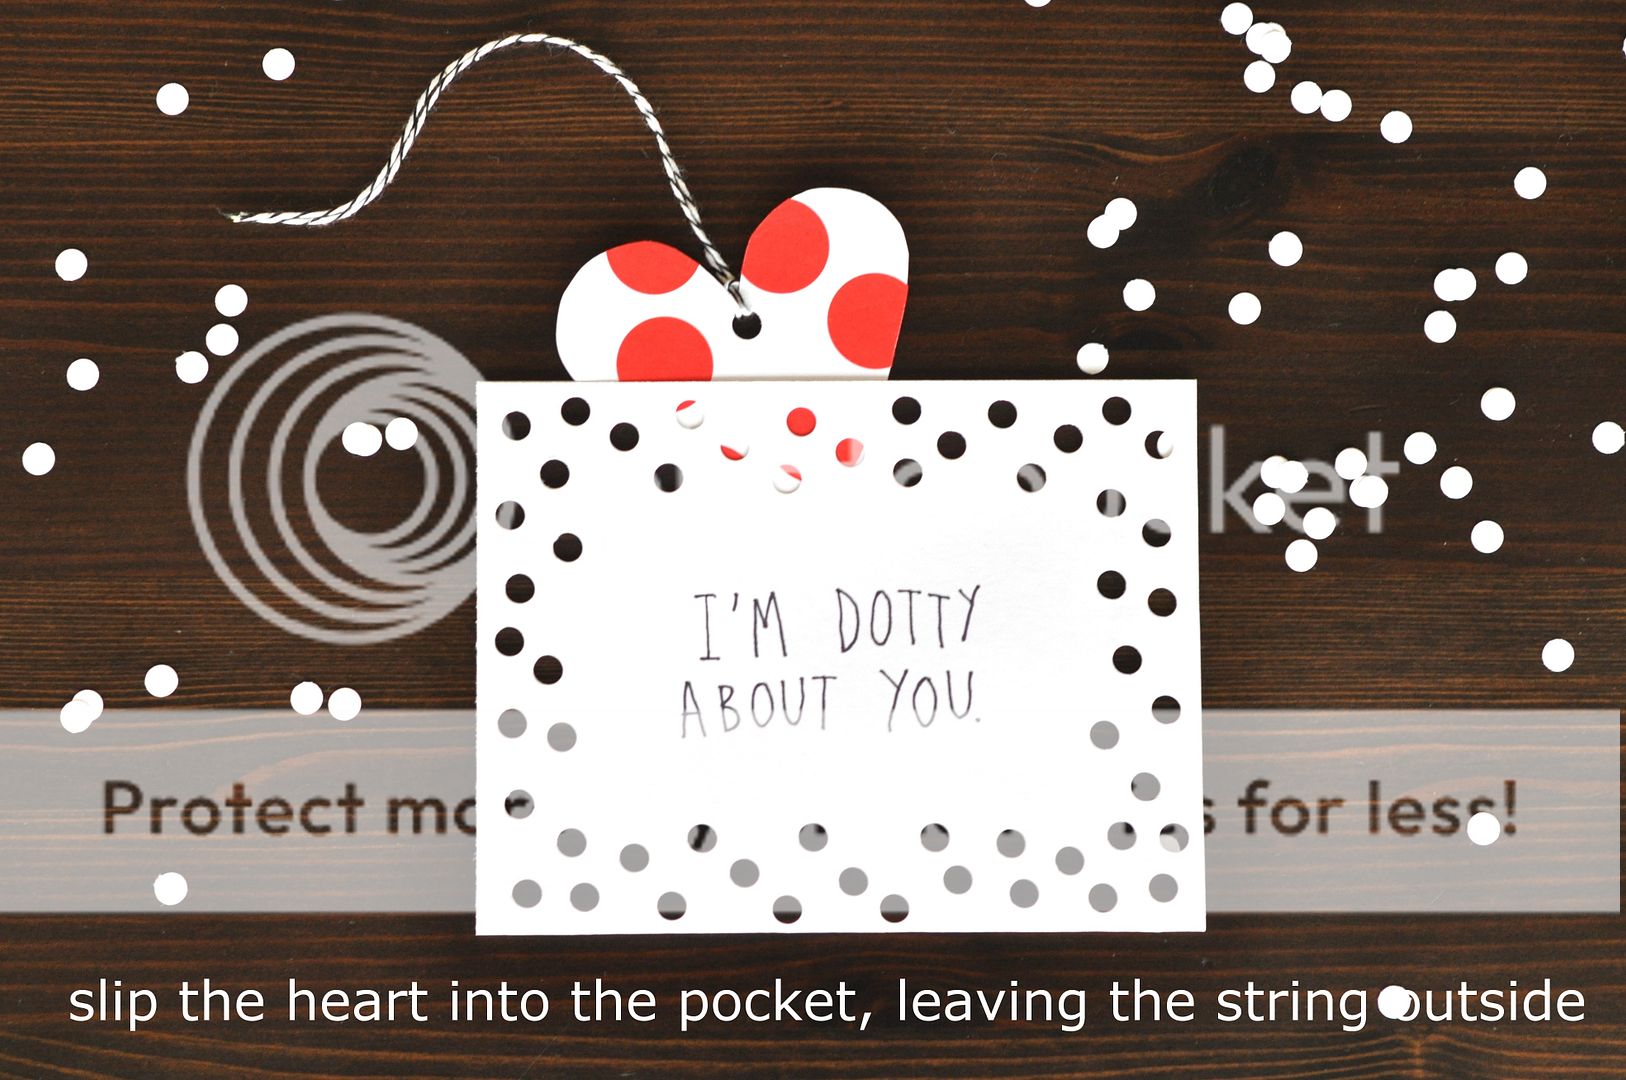
Every year, I'm amazed by the thoughtful Valentine's cards that the kids' friends give -- sweet photos, sweet puns, sweet sweets. It gets a bit stressful trying to think of something with the same wow-factor to give in return, so this year, we've just kept it simple and handmade -- plain card, stickers and a hole punch. A card that is easy to make in large quantities -- and easy for little hands to join in making, at all stages.

 photo DSC_0062.jpg

You'll need: 
plain card
a hole-punch
glue
scissors
string
a paper cutter (optional)
stickers or coloured pens
  photo DSC_0066-1.jpg  photo DSC_0068.jpg  photo DSC_0074-1.jpg  photo DSC_0114.jpg photo DSC_0082-2.jpg  photo 10fb7144-5e93-49f6-9799-469f0d925998.jpg  photo DSC_0088-1.jpg
 photo DSC_0097-1.jpg
 photo DSC_0107.jpg

I told Tilly what I was writing on the front of each card, but in true toddler fashion, she insisted the saying was, "I'm dotty JUST LIKE you." So we put that on a couple of cards, too, to give to her unashamedly crazy friends!


Friday, September 23, 2011

{diy: washi tape flags}

Washi tape. Chances are you've seen a roll in a pattern you can't resist, and bought it. Chances are, once you've got one roll, you've decided to become a washi collector. Chances are, you now have an entire cupboard piled high with red tape, blue tape, tape with musical notes, with Japanese stamps, with the entire words of Shakespeare printed in miniature. 

But what do you actually do with the stuff?

You make flags. And then you make cupcakes. And then you stick the flags into the cupcakes and have a jolly good time.

Having made millions hundreds dozens of little flags for Mossa's birthday earlier this week, I've got the method down. Is it so basic that you could probably do it in your sleep already? Yes. Am I going to share it anyway? Yes. It might save you a bit of awkward finger/scissor/tape/cocktail stick manoeuvring.

(Are you drooling over those cakes above? Bakewell Cupcakes, baked by my sister, Alice, they use The Best Cupcake Ever recipe that I shared the other day)


You'll need:
  • scissors
  • cocktail sticks (long or short. I prefer long as you can cut them to make short ones, too)
  • washi tape


Pull one end of the tape out, a good ten centimetres, and place the unpokey (i.e. 'blunt', for people who use 'real' words) end of a cocktail stick in the middle of the length of tape.


Fold the end of the tape over the top of the cocktail stick, sticking it to the tape on the other side of the stick. (Note: at first I was very worried about lining up the edges on both sides of the tape, but then got over myself and decided it looked quite nice uneven anyway.)


Snippy snippy. One straight cut, to separate the flag from the roll of tape, and two pointy cuts, if you like the snake-tongue effect. 


Here's another case of unnecessary worrying -- I oh-so-carefully measured the first two or three flags, and then decided that it was all a bit faffy, really, and decided to enjoy a variety of lengths of flag. Perfectly imperfect. Or, so I tell myself. We also scribbled '90' onto the flags in a very imperfect and blobby blue biro. 


We stuck the flags in cupcakes. We stuck them in Fruit Pastilles. We stuck them in Cadbury's Giant Chocolate Buttons. We slotted them into the holes in Polo mints. I even poked a couple into the tail feathers of my Mum's favourite straw chickens, to give them a bit of festive 'pluck'. In short: stick a flag in anything, and it becomes more exciting. 

So, tell me: am I wrong? Do you have tons of uses for washi tape? Have you never heard of the stuff, much less been tempted to buy any? Or do you, in fact, have the complete works of Chaucer on washi tape instead?

Monday, July 25, 2011

{what the hack}

Saying that we, as a family, are IKEA-crazy is the understatement of the century. I can look around your living room and point out the Swedish flat-packed furniture (though maybe you wish I wouldn't). I can probably even give you the unintelligible name for it all, too. POANG, EKTORP, EXPEDIT; growing up as the daughter of an IKEA employee, that was the language of home. 


So, as you might imagine, IKEAHackers.net is the New Yorker of my world. And though they classify it as a 'minor' hack, (which, let's face it, is true: the Vimpel has returned to its life as a duvet cover already) I am absolutely over the moon about seeing our handiwork (and Justin's pajamas) on their site. Check it out here.

And, if you're feeling the excitement, too, why not go ahead and 'like' it, and we'll see if we can be a top hack of the month!

Wednesday, June 8, 2011

{the proof is in the pudding}

I don't often share recipes on here. I also don't often make giant bowls of chocolatey creamy fruity deliciousness. So here's a special treat.

We had friends over last night, and I was planning to simply mix up a box of brownies when I remembered -- on the back of a chocolate pudding box one time, I'd seen the most amazing-looking heap of brownie sundae. Luckily, the ripped-out recipe was slipped into a file and saved, and with a few changes (good bye, Cool Whip. hello, whipped cream), the Ultimate Pudding was born.

Ingredients:

2 cups of milk
1 four-serving-size package of chocolate pudding
8 oz whipping cream
1 8x8 baked brownie
1 punnet of strawberries


Preparations:

In a large bowl, mix the milk with the pudding mix and blend until smooth. Set aside.
In another bowl, whip the cream. Set aside.
Wash and cut the strawberries into quarters. Set aside.
Cut the brownie into 1" squares. Set aside.


Putting it together:

Place half of the brownie cubes at the bottom of a serving bowl. Top with half of the chocolate pudding. Add half of the strawberries, and then half of the whipped cream. Now, repeat all layers. 
Put in the fridge to chill for an hour, or until you can't wait any longer to eat it...

How easy was that?


Four people managed to have three helpings each, with plenty left over (for breakfast? mmmm...)

Saturday, February 19, 2011

Cheeky Chocolate Mousse

The situation: it's four o'clock, and you've got people coming over at seven for dessert. The cupboards are bare. And these people know their food -- picking up a box of Betty Crocker isn't going to cut it.

What do you do?


It's Nigella to the rescue, with her super chocolate mousse recipe. While most mousses take four hours plus to set, this one is firm and ready after barely an hour in the fridge.

Here's what you need:

  • 3 cups mini marshmallows
  • 1/2 stick unsalted butter, softened
  • 9 ounces best quality semisweet chocolate, chopped into small pieces
  • 1/4 cup hot water from a recently boiled kettle
  • 1 cup heavy cream
  • 1 teaspoon vanilla extract
Put the marshmallows, butter, chocolate and water in a heavy-based saucepan.
Put the saucepan on the stove, over heat, though keep it fairly gentle, to melt, stirring every now and again. Remove from the heat.
Meanwhile whip the cream with the vanilla until thick and then fold into the cooling chocolate mixture until you have a smooth, cohesive mixture.
Pour into 4 or 6 glasses or small dishes and chill until you want to eat. (About an hour)


Serving mousse in tea cups is a little something I picked up from my favourite dinner party guru, The Fable of the Table. I love the idea of eating out of tea cups, and these mini polka-dotted ones just give the mousse an extra bit of sweetness!

Wednesday, December 30, 2009

Pretzel Num-Nums

Here's an easy little recipe I just learnt about, which makes surprisingly tasty treats. I don't think they have an official name, so I call them Pretzel Num-Nums.

All you need is salted pretzels,


Hershey's Kisses, and M&Ms,


and an oven!


Just unwrap the Hershey's Kisses and place one on top of each pretzel, on a cookie sheet (no greasing needed).

Stick them in the oven for a bit (I did about 7 minutes at 250 degrees), checking every few minutes to see if the chocolate is melty.

Once the chocolate is getting soft, remove from the oven, and press an M&M into each Kiss, then let them cool. (Or eat them while hot, if you prefer that, like my husband!)

So tasty... enjoy!