Showing posts with label kids. Show all posts

Tuesday, February 4, 2014

tutorial: dotty valentines

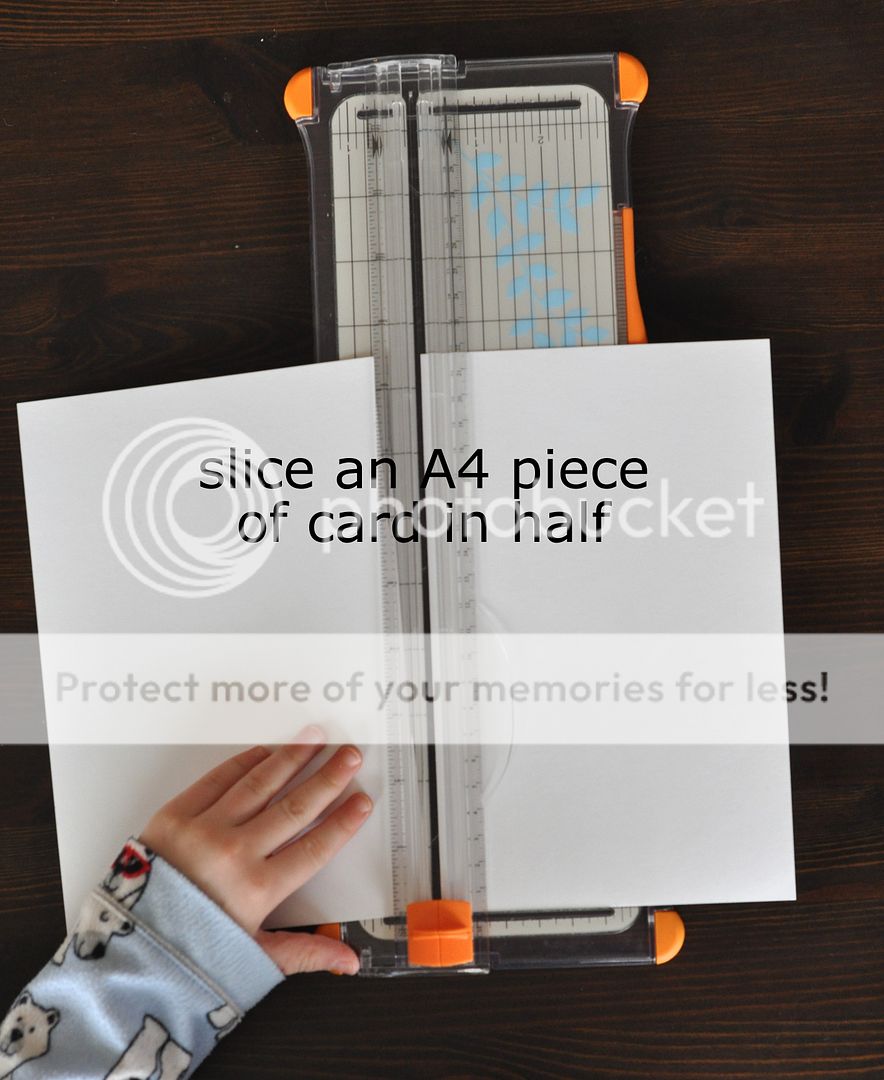
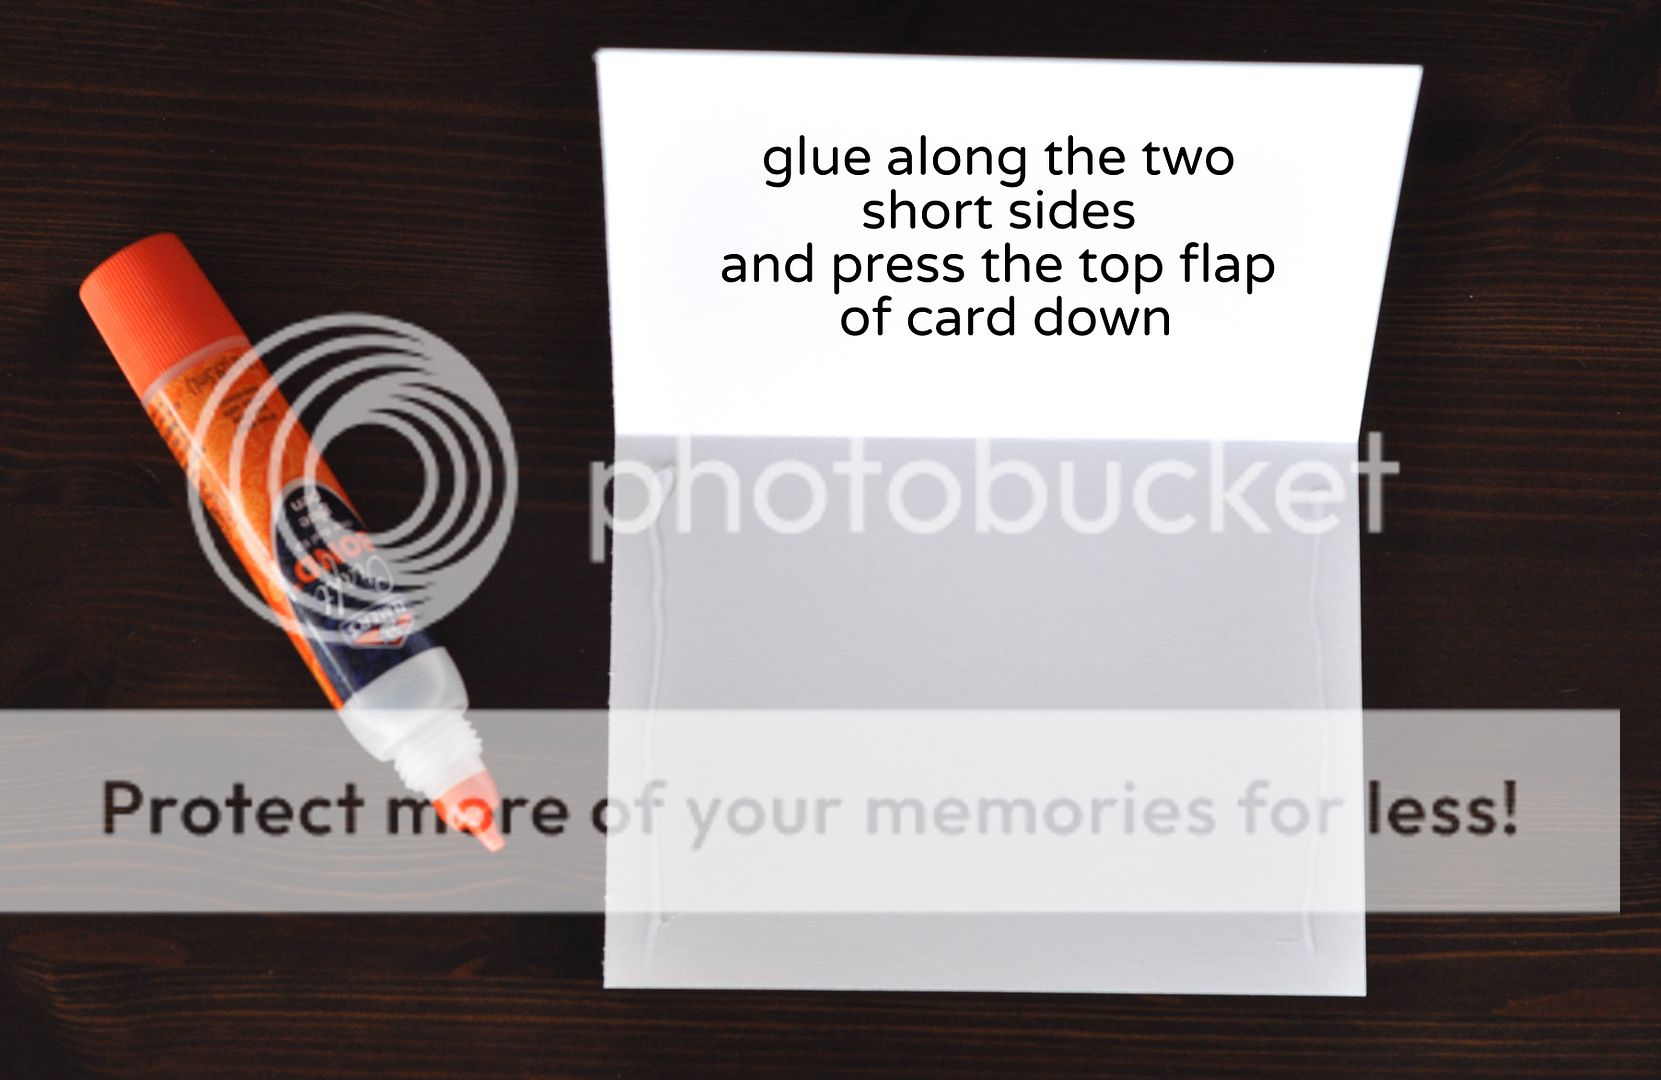
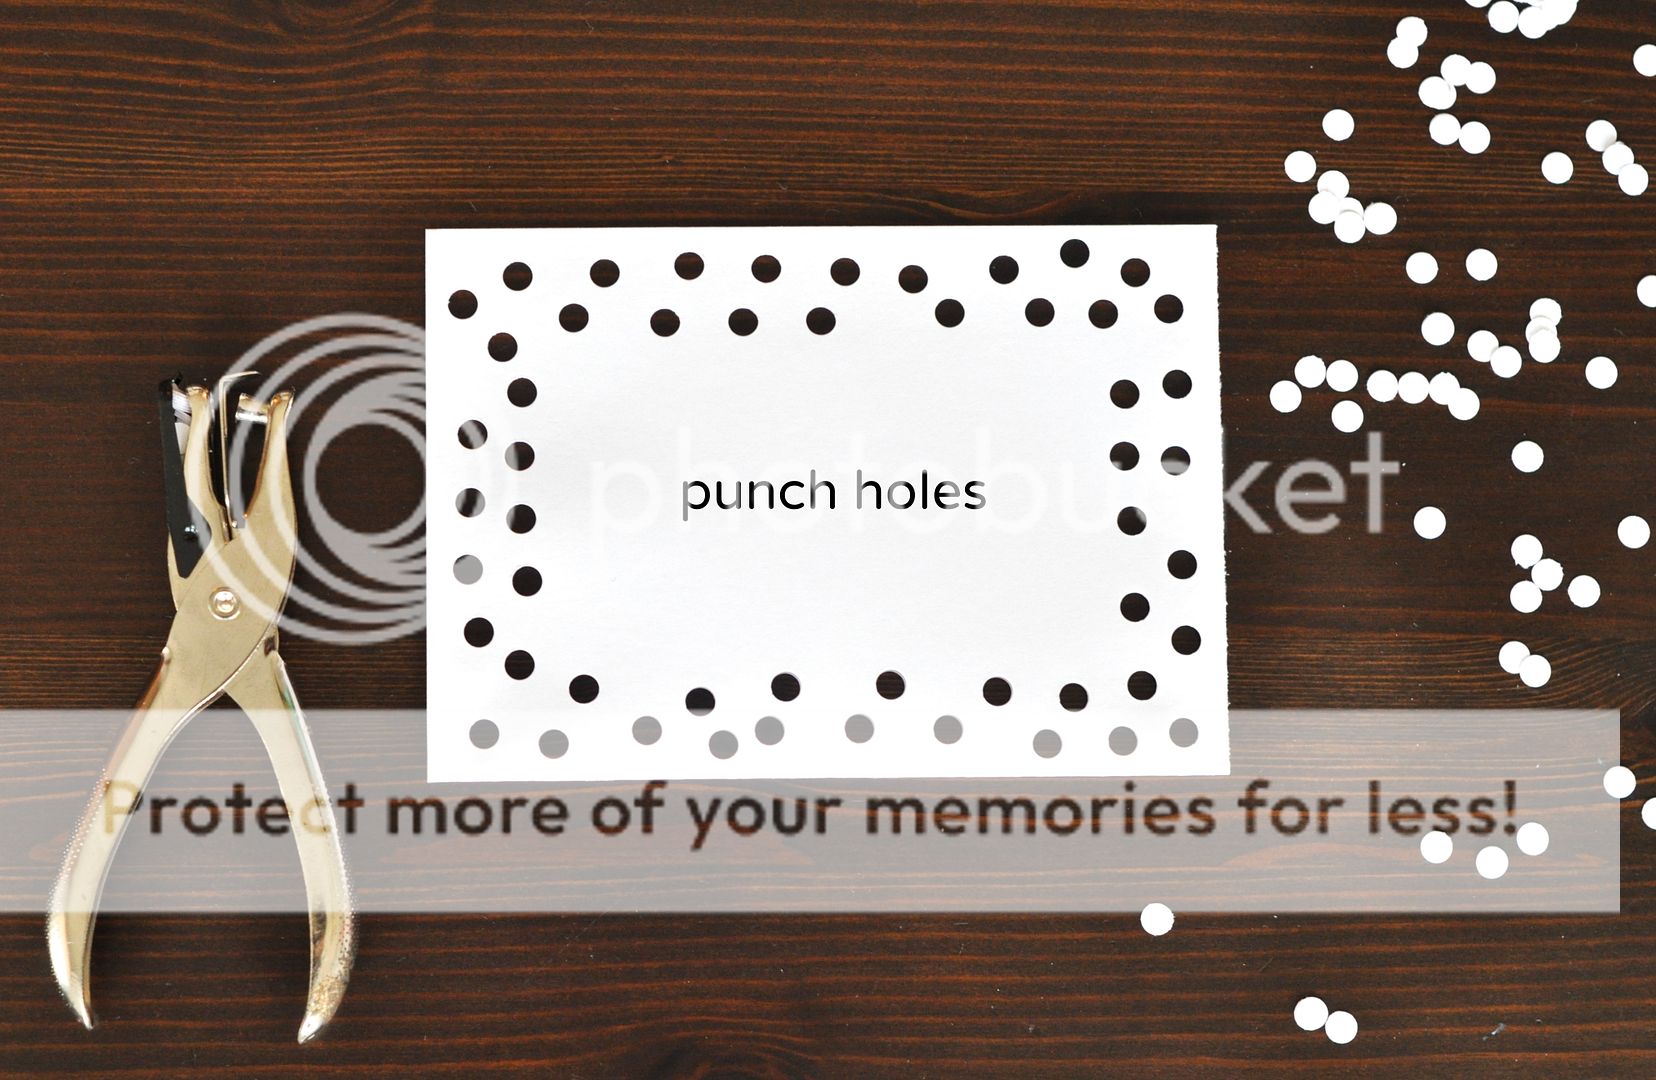
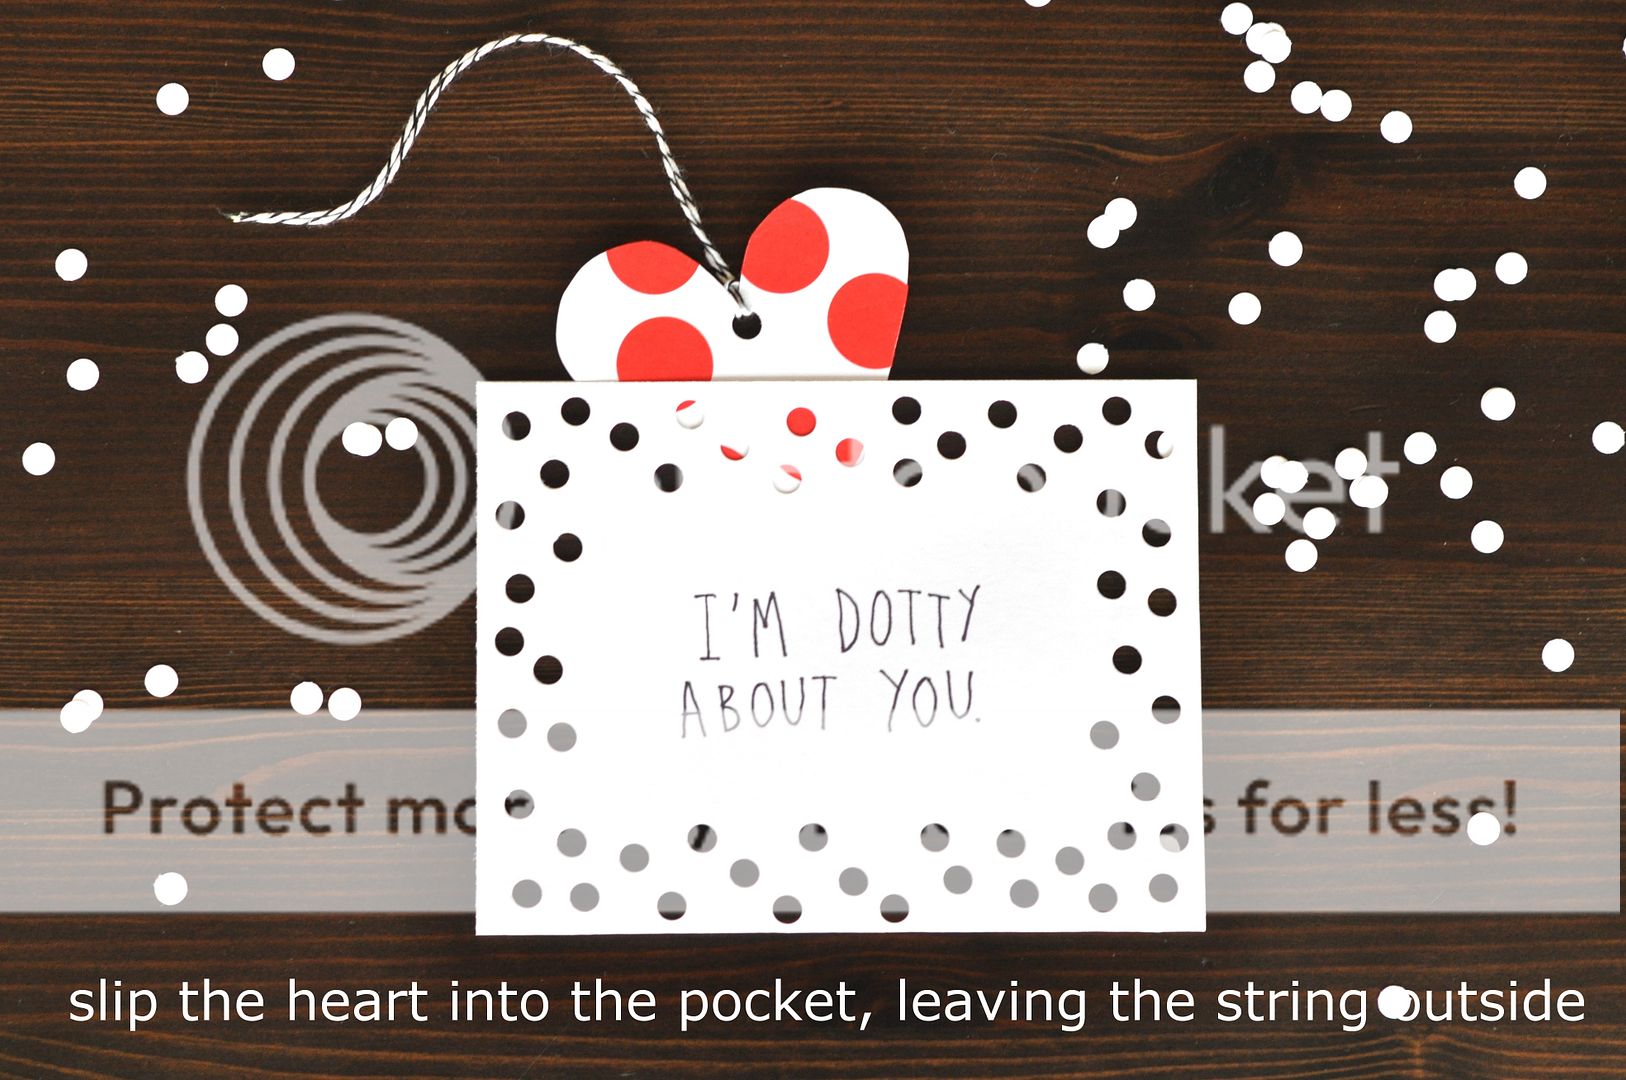
Every year, I'm amazed by the thoughtful Valentine's cards that the kids' friends give -- sweet photos, sweet puns, sweet sweets. It gets a bit stressful trying to think of something with the same wow-factor to give in return, so this year, we've just kept it simple and handmade -- plain card, stickers and a hole punch. A card that is easy to make in large quantities -- and easy for little hands to join in making, at all stages.

 photo DSC_0062.jpg

You'll need: 
plain card
a hole-punch
glue
scissors
string
a paper cutter (optional)
stickers or coloured pens
  photo DSC_0066-1.jpg  photo DSC_0068.jpg  photo DSC_0074-1.jpg  photo DSC_0114.jpg photo DSC_0082-2.jpg  photo 10fb7144-5e93-49f6-9799-469f0d925998.jpg  photo DSC_0088-1.jpg
 photo DSC_0097-1.jpg
 photo DSC_0107.jpg

I told Tilly what I was writing on the front of each card, but in true toddler fashion, she insisted the saying was, "I'm dotty JUST LIKE you." So we put that on a couple of cards, too, to give to her unashamedly crazy friends!


Sunday, June 9, 2013

the quilt that entertains your kids: an eye-spy tutorial

An eye-spy quilt is simply a design that features a large range of novelty prints, from animals to vehicles, people to plants -- anything that can be "spotted". For this latest quilt, though, I decided to take the game one step further and make a physical, hold-in-your-hand checklist of some of the quilt's landmark prints.

eye spy tutorial

In case you'd like to use the idea for your next eye-spy quilt, too, here's how I put mine together.

Materials:
Several squares of novelty fabrics to be used in the quilt
Printer paper
A scanner
Laminating supplies (optional)

What to do:
1. Place your fabric squares in the scanner, face down. Scan each one, and save them on your computer.

eye spy tutorial

2. Open Pages (or your word processing program of choice). Create a new blank document.

3. Drag in each of your scanned fabric images. I chose to lay them out in a grid, but it would also work to have them positioned vertically, like a list.

(Tip: In Pages, you can add one image, and then save your document as a template. Close and reopen your document. Duplicate the first image as many times as necessary, and then drag each subsequent image onto one of the duplicates. This makes each image the same exact size. You might know an easier way to do this already, though...!)

eye spy tutorial

4. (Optional) Add a textbox under each image, with a description of the fabric.

5. Print. I chose to laminate the sheets, so that the images can be crossed off with a dry-erase marker when found, and then the sheets can be wiped clean and reused.

Perfect for rainy-day or sick-in-bed entertainment!


Thursday, November 3, 2011

{pinterest challenge: woolly letters}

Starting to think I'm going Pinsane? Maybe. But with 3682 pins, I couldn't stop at recreating just one. I'm hoping I can stop at five -- that seems like it should Pinough for now, right?

I fell in love with these wool-wrapped words, originally posted here. As you might remember, I've gone on about how I love capturing handwriting in stitches and stencils, and now in pipe cleaners. It's true -- the way you shape letters, even with an awkward piece of fuzzy-covered metal, takes on your personality, somehow. That, I love.


The word love, on the other hand, wasn't quite doing it for me. Not that we don't like love, or need to remind ourselves of it -- it just wasn't screaming "make me!" 

We're in the process of giving Tilly's room a bit of a makeover, and, strange as it might sound for a little girl, we're going to use a lot of grey. Grey, white, and, of course, some lovely bright red! With those colours in mind, I had a go at bending Tilly's name out of pipe cleaners, and wrapping it up nice and warm for the rare chilly weather we're enjoying.

Something else Pinished -- four pins down, 3678 to go...

Tuesday, November 1, 2011

{pinterest challenge: ruffles}

This tutorial -- seen on, you guessed it, Pinterest -- was for a ruffled tote bag to take Trick or Treating. With a different set of colours, though, it was easily adapted for a new season of celebration.


Don't know how to make ruffles? You will after sewing this bag. (Note: you'll probably also have discovered how NOT to do it!) Tilly has been trotting around with ours today, and I love how it looks as if she's wearing a floor-length flamenco dress!


P.S. Looking for a free Christmas present? I'm giving away a new piece from my shop over here -- stop by, leave a comment, and win yourself an original bit of Red Red.