Showing posts with label ikea. Show all posts

Thursday, August 11, 2011

{inspiration: that's a stretch}

Thanks for all your input on the ideas for giant art! I'm happy to say that an artistic friend has offered to guide me through the painting of those four thin dandelions -- so cross your fingers, hold your horses, we might have our own version of that beauty one day soon.

As many of you suggested, we are also considering simply stretching a large, bold-printed piece of fabric over canvas stretchers, and hanging that as art. Here are a few ideas for how that might look:


Stretched Marimekko Fabric by City Refugee. One of my favourite prints of all time, I'm thinking that this could be even more affordable and personal if I stenciled my own version of the famous UNIKKO print. Large shapes, simple colours -- me and my freezer paper can handle that.


This ELLE Decor set-up, via Room Interior Design, has a much softer feel in warmer colours, and shows that a medium-sized print will work nicely, too.


Stretched Stems via Real Simple. The grey seems like a perfect balance of neutral and interesting.


Button Art by Little Green Notebook. I'm picturing it on a white background, for a slightly fresher look, but the loosely-matched colours of the rows of buttons are perfect just as they are.


Stretched IKEA Fabric by Jenn and Romy. Recognise this fabric? I snagged three yards of it on clearance a year or so ago, sewed up a table runner, and declared it to be my favourite fabric ever. Admittedly, it might be a little busy for the wall, but as we have a yard still lying around, it might be worth a try.

Have you had any success with fabric stretching? And prints or patterns that you think are totally art-worthy? Or have you ever tried to rip-off an expensive designer print with freezer paper?

Saturday, July 9, 2011

{work in progress: play kitchen}

Once upon a time, there was a girl who dreamed of having a beautiful wooden kitchen to cook in. There would be space to store salt, pepper, and the rolling pin she got for her birthday...


...a little red clock to make sure she had dinner ready on time...


...and a tiled backsplash, well, just because.


Well, it turns out the Fairy Godmother of roadside rubbish was smiling down on us as we found this sorry piece of furniture sitting in the rain yesterday. Doesn't it just overflow with play-kitchen potential?


A coat of white paint? A sink and a few burners? Can you picture it?

Justin was less sure, but kindly carried it home for me anyway while I attempted to simultaneously control Baby-in-Pushchair and Crazy-Dog, to the amusement of many passersby.


You know what they say: "Four wheels good, two wheels bad." Well, I'm not so sure that's true. I'm thinking, if I screw two regular legs onto the other end (which is presently missing wheels), this little kitchen will be mobile if desired, but will stay put when we want it to. I'm a little concerned a four-wheeled cupboard would quickly become a battering-ram in Tilly's hands.


And, surely, in our giant box of IKEA spare parts, we've got two of those little adjustable feet that seem to come with everything? (And no, we don't buy Chocolate Chocolate Chip Cookies by the case, as much as Justin wishes we did)


Now, I have to warn you, I've set myself a budget of ZERO dollars for this kitchen. Partly because I want to force myself to use the things we have around the house, (i.e. paint from Tilly's dresser, the faucet that Justin replaced last year, old knobs and handles) and partly to keep myself from getting obsessed with it right now. Having just turned one, Tilly doesn't want to play kitchen just yet. She wants to empty drawers and chew on chair legs. 

So, this is going on the long term project list. Deadline: Christmas. 

P.S. To see more inspiration, check out the DIY Play Kitchen board. I know, I'm sorry, I'm Pinterest crazy. 

Wednesday, July 6, 2011

{how to build your own photo booth}

Before I forget, and the whole birthday whirlwind is long past, here's a little tutorial we put together on building your own photo booth in the back garden. I looked and looked and couldn't find any instructions online, so we made it up as we went along. 


It cost us $4.86 -- most of the materials are normal household things that could be repurposed (and then returned to their old uses afterwards). You need absolutely no sewing or woodworking skills to do this, just the ability to hammer a nail and tie a knot. 

Here's what you'll need:
  • one twin-size duvet cover or flat sheet (ours is the IKEA Vitaminer Vimpel)
  • at least four clothes pegs
  • string and scissors
  • hammer and nails
  • two long thin pieces of wood, at least 7ft tall (ours are from Lowes, 8ft, $2.43 each)
  • a fence 
First, make sure you know the dimensions of your duvet cover or sheet. Either check the info, or measure both the width and height. Ours was 65" by 85".

We laid each of the wooden planks on the ground, measured 85" along, and marked that spot.


On both planks, we hammered a small nail into the wood at the 85" mark, in the centre. This nail goes on the backside of the photo booth, and not visible (except to your neighbours and their golden retriever!)


We placed one of our wooden planks where we wanted it along the fence, (remembering to have the nail we'd just hammered in facing away from us) and measured along 65", and marked where the second plank needed to be. We checked we liked the positioning...


...and then nailed both planks to the fence. Mmm... gives a new meaning to biting your nails!


This is what it looked like with both planks in place. (And with Justin checking his wingspan)


We knotted one end of the roll of string around one of the 85" high nails on the back of a plank...


...and wrapped the string around the outside of the plank (we figured this would allow our duvet cover to cover the planks, somewhat, when hung). We pulled the string taut, and knotted it around the second nail.


Then, we hung the duvet cover -- bending the fabric over the top of the string, and pegging it in place. We only had four pegs, and luckily that turned out to be enough!


At this point, we discovered that we'd built a giant sail. Whenever a gust of wind hit it, the whole thing flapped and blew. Perfect, if we'd been wanting to turn our fence into a raft. (Michael, Walt, Jin and Sawyer would have been proud). Not so perfect if we wanted decent photos.


The solution: one more piece of string, stretched across the front between the planks, about 2/3 of the way up. Our white string was barely noticeable in front of a white part of the duvet cover, and kept things neatly in place.


Justin grabbed Bella, and we had a few little test shots the night before the party to test out the lighting. I'd recommend thinking about where the sun will be at the time of your party, and planning where to put your photo booth accordingly. I chose to set ours up so that people wouldn't have to look directly into the setting sun when having their photos taken, which resulted in plenty of smiles, rather than pained squints. For the actual party, I upped the exposure compensation on the camera slightly to account for the extra shadows and make our whites sparkly.


With a little table nearby for the props we made (another member of our IKEA family, covered with a tablecloth), and a sign encouraging people to help themselves, it was all ready to go. Ten minutes work for under $5, and we were very happy with the results!


P.S. A round of applause for Justin, the handyman and physical labour for this project, who was happy to pose in his pajamas after a long day of work! The creative director behind the camera was not quite so brave...

Tuesday, June 7, 2011

{under the covers}

When we bought Tilly her bedding, many many months ago, I insisted we just buy her one duvet cover. I mean, two rectangles of fabric stitched together -- how hard could that be to sew myself?


It turns out, the hard thing isn't the design. It's getting round to actually making it. Many many months passed, and finally, looking for a new excuse to patch fabrics together, I came up with this design.


A reversible duvet cover, with a thin strip of patchwork near the top, to make it pretty. Finally, putting to use some of the beautiful fabrics my Mum bought for Tilly in Beijing's fabric market.


And how nice it is to have two duvet covers for Tilly. Trying to get one washed and dried in between naps is just too tight of a time frame!


P.S. I'd be happy to post a little how-to, if anyone's interested, with the measurements for an infant duvet cover. Just let me know. I'm also planning on making a cover in a similar design for our bed, if I can find two cheap flat sheets to play with.

Tuesday, May 3, 2011

{ikea hack: forty-nine cent tea towel bags}

How excited would you be if I told you that you can make a drawstring bag from a 49 cent tea towel? 

Well, double it! Yes, hold onto your Swedish meatballs, because I'm about to show you how to make not one but two bags from a TEKLA tea towel. 


Materials: (makes two)

1 TEKLA tea towel
2 lengths of string, twine or ribbon, each 20" long
Natural-coloured thread

P.S. If you can't get to an IKEA, or your cupboards are overrun with tea towels already, this pattern will work for most towels -- the finished size will just vary based on the proportions.


First, fold your tea towel in half lengthwise, so that the red stripe runs along the unfolded edge. Pin along both long edges, and across the tea towel on both sides of the middle.


Cut across the middle, in between the two lines of pins. This separates the tea towel into two, one for each bag.


You should now have two rectangles, each pinned on three sides. The unpinned edges will be the tops.
(The rest of the instructions are given for one bag -- simply repeat to make the second!)


Sew along all three pinned edges, leaving a 2" gap at the top edge of one of the long sides. This will allow you to add a drawstring top. Backstitch at the beginning and end.


Now, to add the drawstring. Take a length of string (approximately 20") and place it along the top edge of your bag.

Fold over the top edge and pin it, trapping the string in place. With the TEKLA towel, there is a seam along the top of the tea towel, so it looks neatest to fold over the seam -- no more, no less. With other tea towels, fold over 3/4" of fabric.


Continue pinning all the way around, until you reach the edge where you left a 2" gap. This will be where your string pokes out and allows you to open and shut the bag. Sew along the folded-over edge, backstitching at the beginning and end.


Trim the bottom corners, cutting them diagonally.


Turn the bag inside out, and fill!


We love to use ours for storing sets of Tilly's toys, for holding wool for my latest knitting project, for keeping fruit and snacks safe when we go out, for storing supplies from pompoms to rubber stamps, and for keeping fresh veggies in the fridge. Yes, drawstring bags are taking over our house!


And, after getting so much practice with the TEKLA towels, I had a go with one of the vintage linen beauties. This large tea towel, with a map of Bermuda, seemed perfect to accompany Justin on his next business trip to keep worn clothes in, and, perhaps, to let him dream of more relaxing places!

(Rather than cutting it in half, I simply folded it widthwise and then followed the instruction above, to make a larger bag.)


As always, if you give this a try, please stop back and let us know how it went!

Sunday, February 27, 2011

The Zen of Mismatched Needles

Our home is now well and Tilly-proofed: covers on the electrical sockets, sharp corners padded. But none of that does a bit of good if there are sharp metal eye-pokers and pointy wooden bottom-spearers (i.e. my un-put away knitting needles) lying on every chair and table.


So, with two large rectangles of my favourite IKEA fabric, a scrap of twill tape, and a collection of little numbers cut from the selvedges of fabrics, a little knitting roll was sewn up. It houses quite a motley collection of needles -- some colourful aluminium loners inherited from a friend, some wooden widows who lost their partners to a ravenous puppy Bella, and everything from a set of seven double-pointed size 0's to a pair of pink hunka-munka 17's.


All neatly rolled up, even the most curious Tilly can get her hands on it without danger!

Wednesday, August 25, 2010

IKEA In Numbers

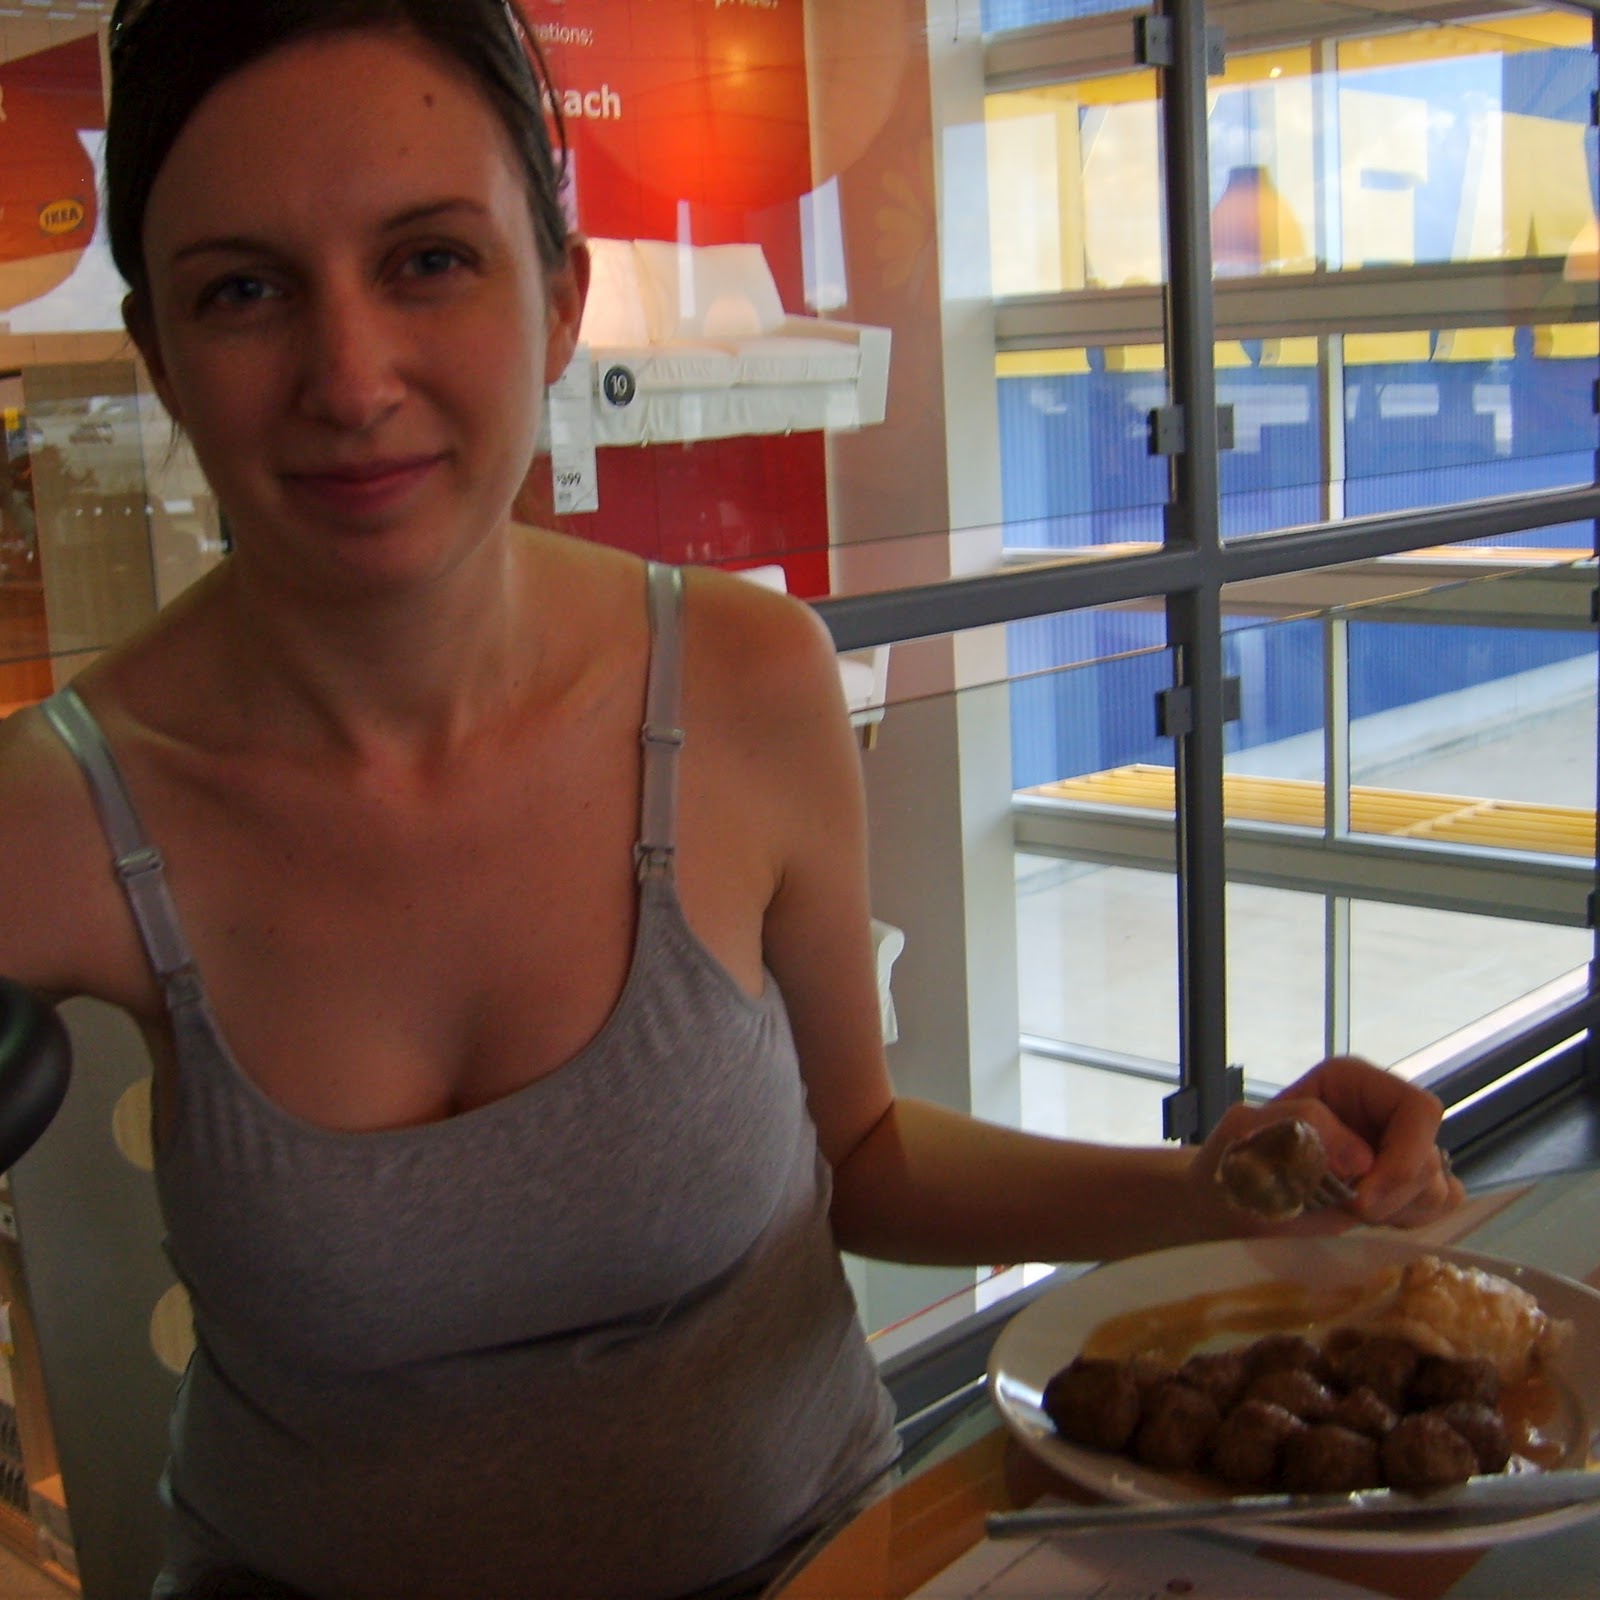
I've been asked to elaborate on last Saturday's IKEA trip. Here's the breakdown:


Number of hours in the car, to Houston and back: 4
Number of times Tilly had a meltdown in the car: 0
Number of hours spent in IKEA: 3
Number of times (approximately) Tilly had a meltdown in the store: 6


Number of meatballs devoured: 40
Number of minutes (approximately) taken to devour said meatballs: 3
Number of people shocked that IKEA no longer serves lingonberries: 2


Number of people we can now have over for dinner, so that everyone has a fork: 12
Number of people we could previously have over for dinner, so that everyone had a fork: 4


Number of hands needed to push a trolley, a pushchair, and hold Tilly: 6
Number of hands available: 4
Number of phones lost (or stolen) while inside IKEA: 1
Number of yellow IKEA Beetles spotted: 1


Number of hours Tilly slept once we got her to bed that night: 7
Number of people who felt that, overall, it was a very good day: 2